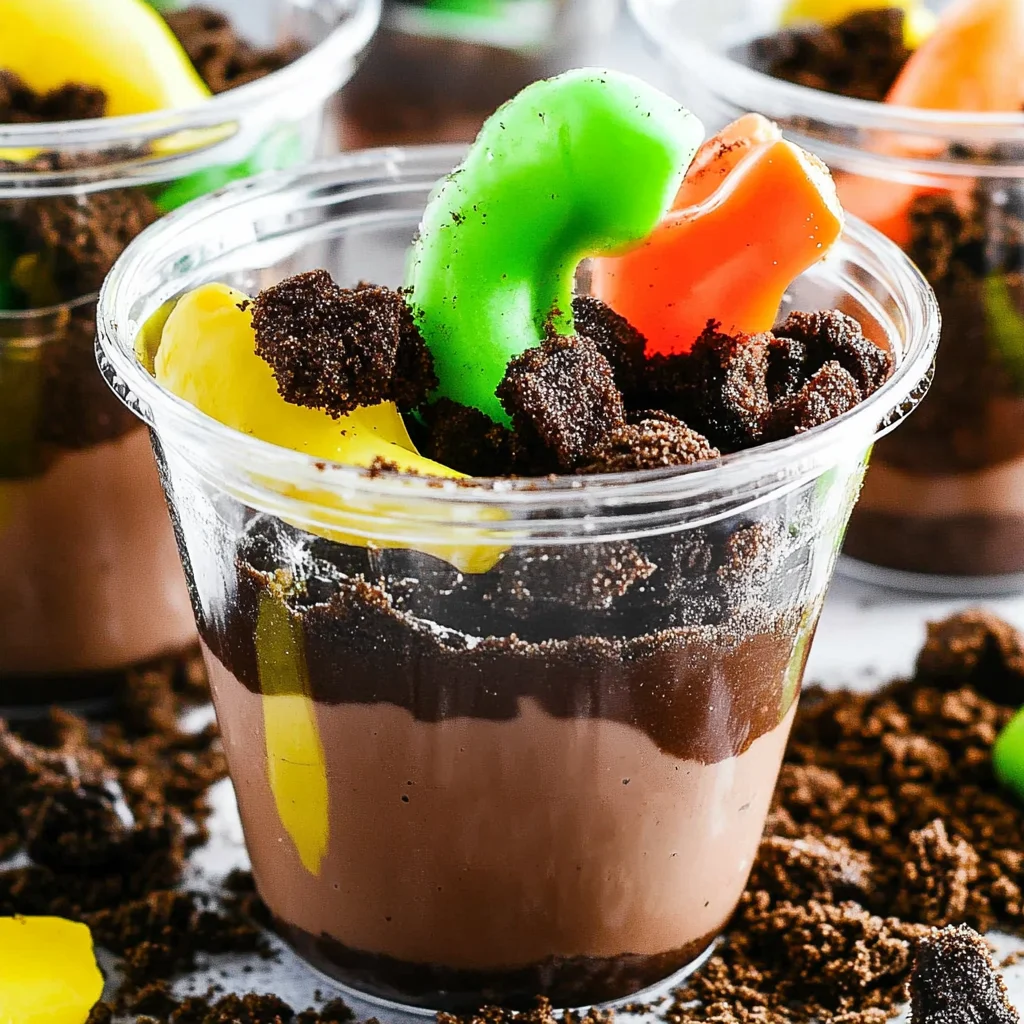
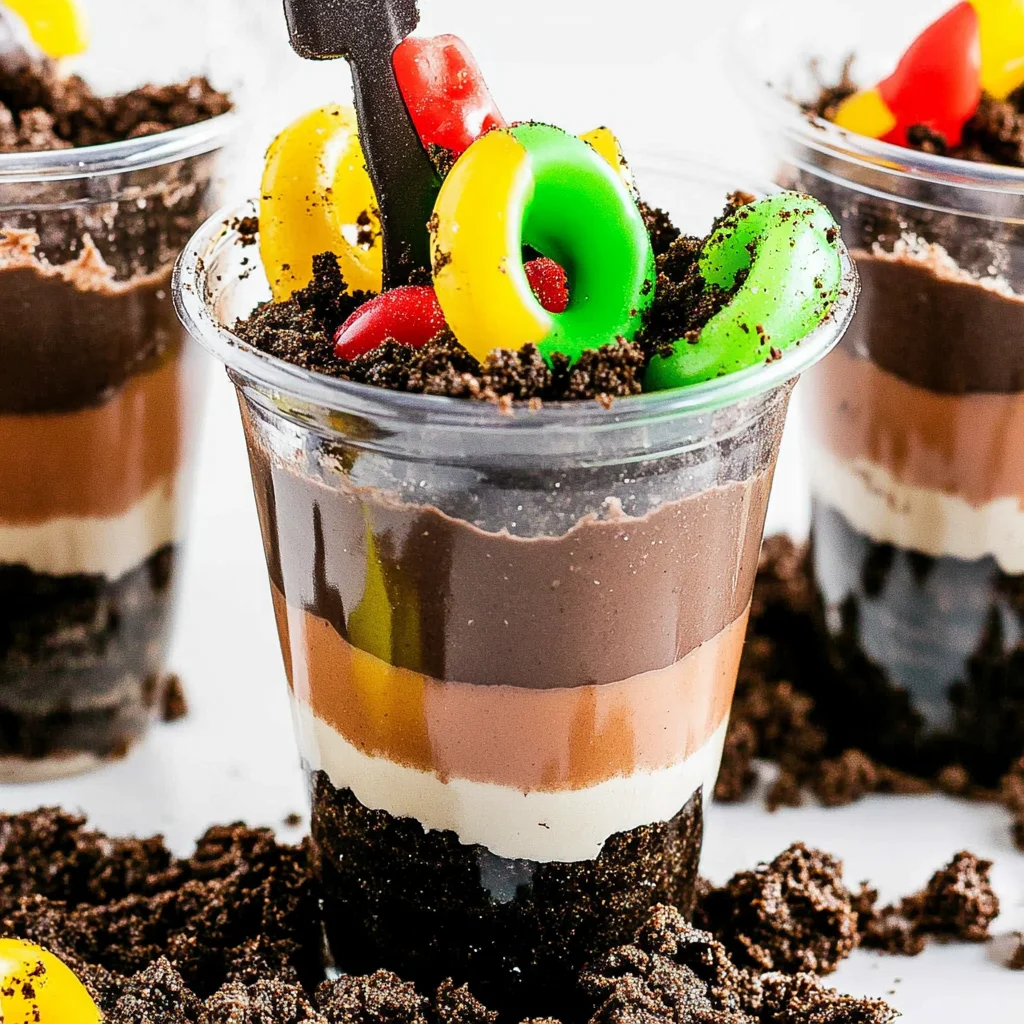
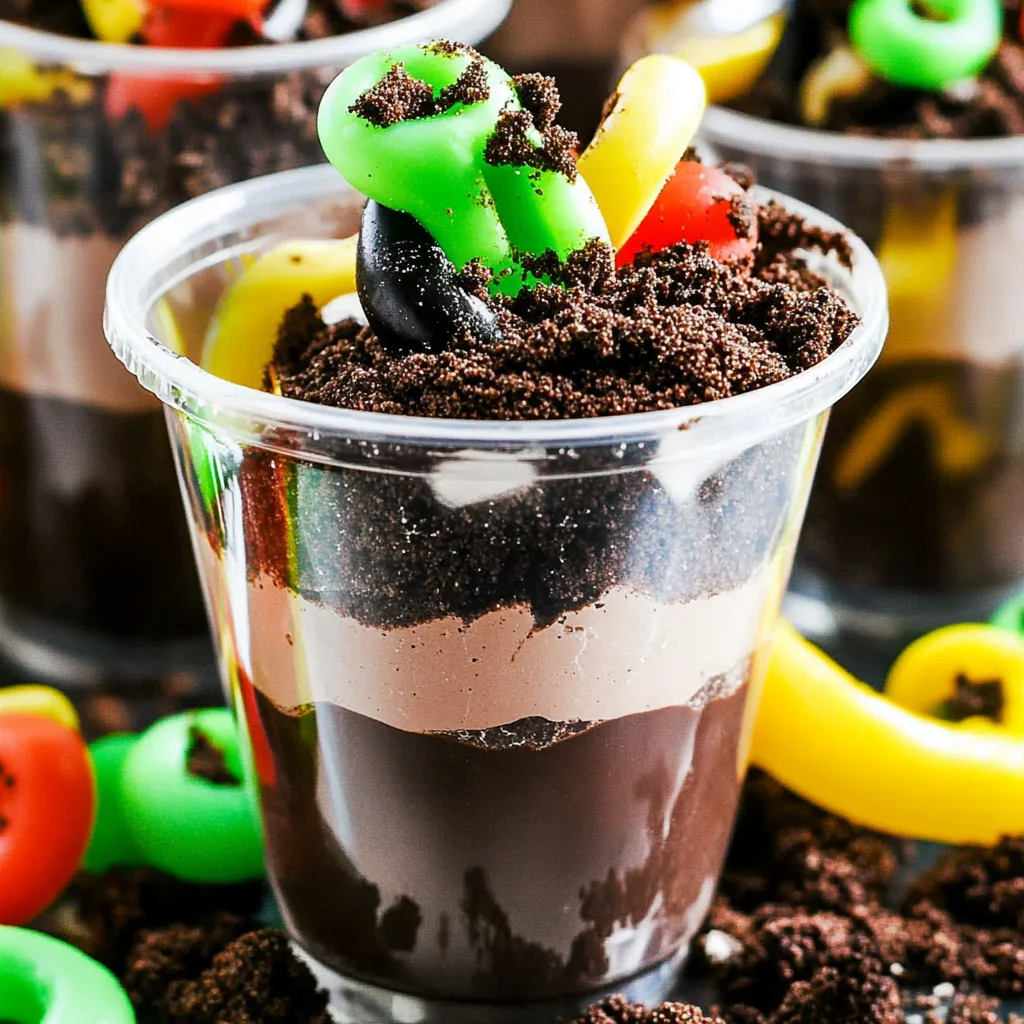
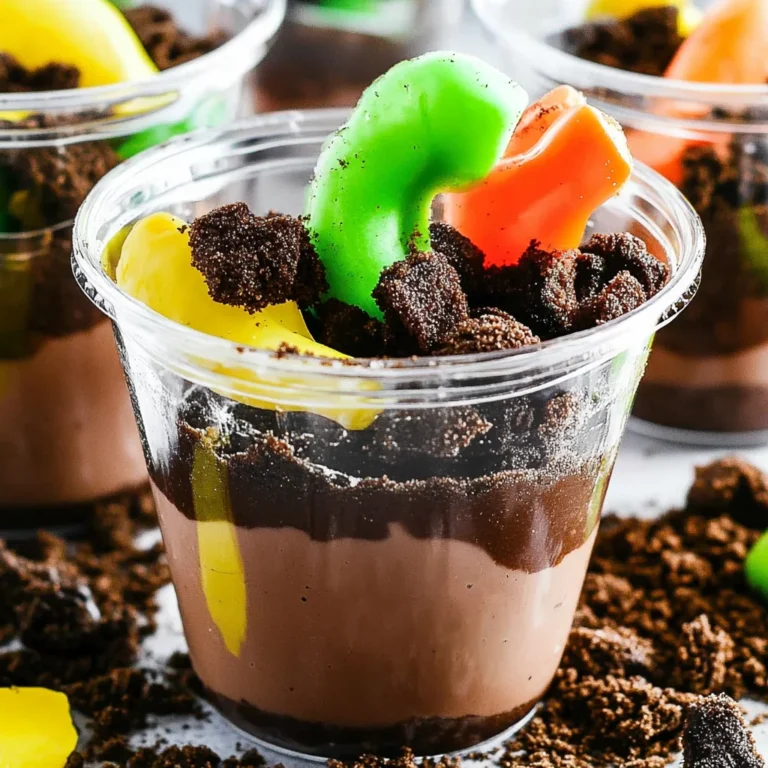
Layers of chocolate pudding, crushed Oreos topped with gummy worms make Dirt Cups a fun and delicious treat for all ages. These delightful desserts are perfect for parties, Halloween, or simply when you want to indulge in something sweet. The unique combination of textures and flavors creates an irresistible experience that appeals to both kids and adults alike. Plus, they’re quick to prepare, making them an excellent choice for any occasion!
Why You’ll Love This Recipe
- Quick and Easy: With just a few simple steps, you can whip up these delicious treats in no time.
- Kid-Friendly: Kids love the fun presentation and the chance to dig into their dessert!
- Customizable: Feel free to add your favorite candies or toppings to make it uniquely yours.
- Perfect for Parties: Ideal for birthdays, holidays, or any gathering where fun food is a must.
- No Baking Required: This is a no-bake recipe that saves you time and effort.
Tools and Preparation
To create your irresistible Dirt Cups, you will need some essential kitchen tools to streamline the process.
Essential Tools and Equipment
- Mixing bowl
- Whisk
- Measuring cups
- Glasses or cups for serving
- Spoon
Importance of Each Tool
- Mixing bowl: A sturdy bowl allows you to combine ingredients easily without spills.
- Whisk: This tool is crucial for blending the pudding mix with milk smoothly, ensuring no lumps remain.
Ingredients
Layers of chocolate pudding, crushed Oreos topped with gummy worms!
For the Pudding Layer
- 3.4 ounces box instant chocolate pudding mix
- 2 cups milk
- 8 ounces whipped topping (thawed)
For the Topping
- 10-12 Oreo cookies (crushed)
- 32 gummy worms
How to Make Dirt Cups
Step 1: Prepare the Pudding
In a medium bowl, add cold milk and sprinkle pudding over top. Whisk until well combined.
Step 2: Thicken the Mixture
Let the mixture sit for 5 minutes to thicken properly.
Step 3: Fold in Whipped Topping
Gently fold in the whipped topping until everything is well combined.
Step 4: Assemble Your Cups
Spoon the pudding mixture into glasses or cups.
Step 5: Add Crushed Oreos
Sprinkle crushed Oreo cookies on top of the pudding in each cup.
Step 6: Add Gummy Worms
Place 4 gummy worms on top of each cup for a fun finish.
Step 7: Chill Before Serving
Chill your Dirt Cups until you’re ready to serve them. Enjoy!
How to Serve Dirt Cups
Dirt Cups are a fun and whimsical dessert, perfect for parties or casual gatherings. These layered treats can be served in various creative ways to delight both kids and adults alike.
Individual Cups
- Serve each Dirt Cup in clear plastic cups to showcase the layers. This presentation is visually appealing and easy to grab for guests.
Family-Style Bowl
- For a larger gathering, consider making one big bowl of Dirt Cups. Guests can scoop out their portions, making it a fun communal dessert.
With Ice Cream
- Top each Dirt Cup with a scoop of vanilla ice cream. The cold ice cream contrasts well with the chocolate pudding, adding a creamy texture.
Themed Decorations
- Decorate the cups with themed items like Halloween sprinkles or edible grass for special occasions. This adds an extra touch to your presentation.
Mini Versions
- Create mini Dirt Cups using shot glasses or small dessert cups for a bite-sized treat. Perfect for parties or as part of a dessert table!
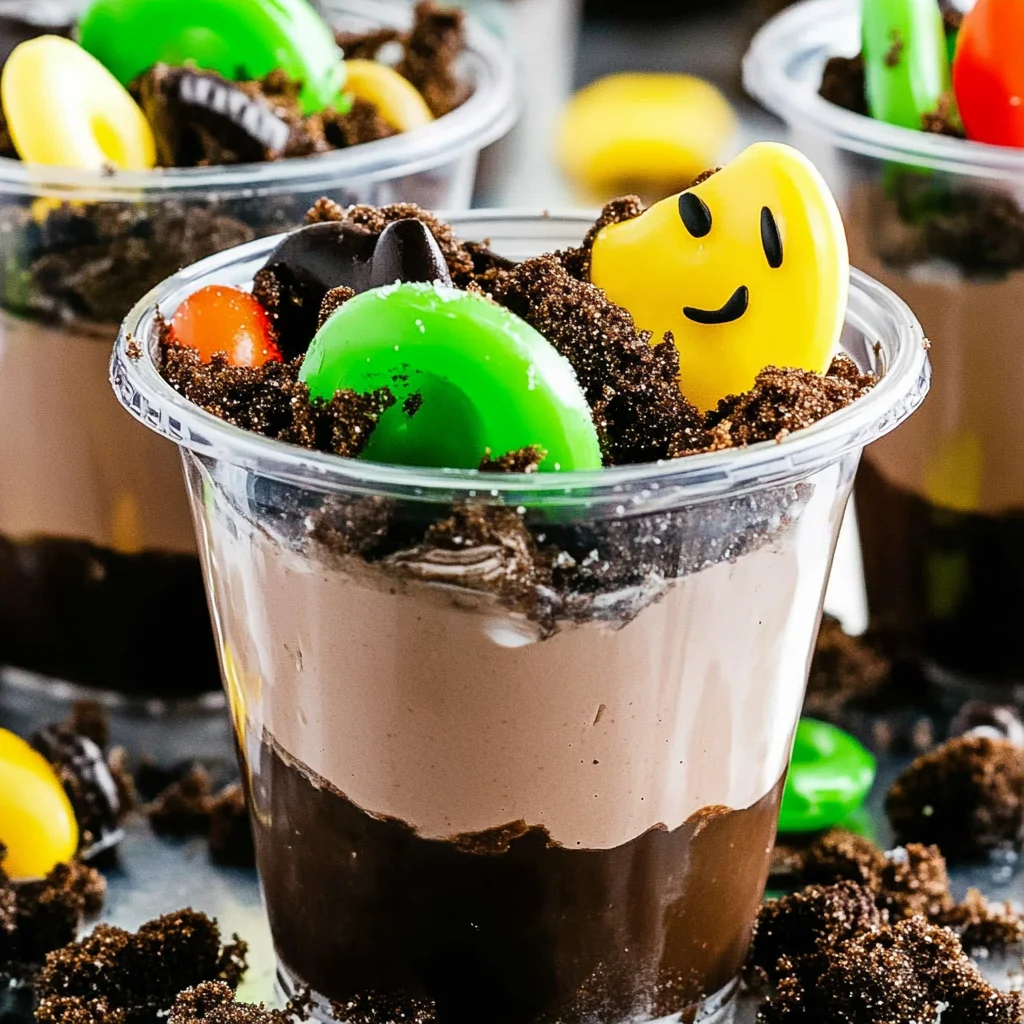
Gummy Worms Variation
- Swap out gummy worms for other gummy candies like sour worms or frogs for different flavors and textures. Kids love variety!
How to Perfect Dirt Cups
To ensure your Dirt Cups are a hit, follow these simple tips that enhance flavor and presentation.
- Use Cold Ingredients: Make sure your milk is cold before mixing it with the pudding. This helps the pudding set better.
- Layer Carefully: When layering the pudding and crushed Oreos, take your time to create distinct layers. This makes each spoonful visually appealing.
- Chill Properly: After assembling your Dirt Cups, chill them in the fridge for at least 30 minutes. This allows the flavors to meld and improves texture.
- Add Additional Toppings: Consider adding chocolate shavings or sprinkles on top for extra flair that enhances both flavor and looks.
- Personalize Flavor: Experiment by using different flavored puddings like vanilla or butterscotch for unique variations of Dirt Cups.
Best Side Dishes for Dirt Cups
Pairing side dishes with your Dirt Cups can elevate your dessert experience. Here are some delightful options to consider:
- Fruit Salad: A refreshing mix of seasonal fruits provides a light contrast to the rich chocolate layers.
- Chocolate Chip Cookies: Classic cookies add an extra crunch and sweetness, making them a perfect pairing.
- Brownie Bites: Small brownie squares offer another chocolatey treat that complements the dirt cups nicely.
- Mini Cheesecakes: These rich desserts provide creamy goodness that balances well with the textures of Dirt Cups.
- Ice Cream Sundaes: Creating sundae bars allows guests to customize their treats, matching perfectly with Dirt Cups.
- Popcorn Bar: Offer a variety of popcorn flavors, sweet and savory, providing guests with crunchy options alongside their dessert.
- Cake Pops: Fun and portable, cake pops add an element of whimsy while being easy to enjoy with Dirt Cups.
- Jelly Beans: Colorful jelly beans can serve as fun toppings or snacks alongside your deliciously messy Dirt Cups!
Common Mistakes to Avoid
Making Dirt Cups can be a fun activity, but there are common mistakes that can ruin your dessert. Here are some pitfalls to watch out for.
- Overmixing the pudding: When combining the pudding mix with milk, avoid overmixing. This can lead to a grainy texture instead of the smooth consistency you want.
- Not chilling long enough: Allowing your Dirt Cups to chill is essential for the best flavor and texture. Skipping this step might result in a less satisfying dessert.
- Using stale Oreos: Freshness matters! Using stale Oreo cookies can affect the taste and texture of your Dirt Cups. Always check the expiration date before using them.
- Skipping the whipped topping: Whipped topping adds creaminess and balances out the chocolate flavor. Omitting it will make your Dirt Cups too dense.
- Poor layering: Make sure to layer your ingredients properly. If you mix everything together instead of layering, you won’t get that classic Dirt Cup look or taste.
Refrigerator Storage
- Store your Dirt Cups in airtight containers. This helps maintain freshness.
- They can last up to 3 days in the refrigerator.
- Cover individual cups with plastic wrap for easy access and serving.
Freezing Dirt Cups
- It’s best not to freeze assembled Dirt Cups, as texture may change.
- If you must freeze, store only the pudding mixture without toppings.
- You can keep it for up to 2 months in a freezer-safe container.
Reheating Dirt Cups
- Oven: Not recommended for Dirt Cups as they are best served chilled.
- Microwave: Avoid microwaving once they’ve been assembled; it changes their texture.
- Stovetop: Again, not a suitable method since these cups are served cold.
Frequently Asked Questions
What are Dirt Cups?
Dirt Cups are a fun and creative dessert made from layers of chocolate pudding, crushed Oreos, and gummy worms. They resemble dirt and are perfect for kids’ parties or Halloween treats.
How long do Dirt Cups last?
When stored properly in the refrigerator, Dirt Cups last about 3 days. Be sure to keep them covered!
Can I customize my Dirt Cups?
Absolutely! You can customize your Dirt Cups by adding different candies or using vanilla pudding instead of chocolate for a unique twist.
Can I make these Dairy-Free?
Yes, you can use dairy-free alternatives like almond milk and coconut whipped topping to create delicious dairy-free Dirt Cups!
Final Thoughts
Dirt Cups are an appealing dessert that brings joy to both children and adults alike. Their versatility allows for endless customization options—try different flavors or toppings based on your preferences! Don’t hesitate to get creative with this fun recipe!
Dirt Cups
Dirt Cups are a whimsical and delicious dessert that delight both kids and adults alike. These layered treats combine rich chocolate pudding, crunchy crushed Oreos, and colorful gummy worms to create a sweet experience reminiscent of digging in the dirt. Perfect for parties, Halloween celebrations, or just a fun family treat, Dirt Cups are quick to prepare and fully customizable with various toppings. The appeal lies not only in their playful presentation but also in the delightful blend of textures—from creamy pudding to crunchy cookies. Get ready to indulge in this simple no-bake recipe that promises to bring smiles all around!
- Total Time: 0 hours
- Yield: Serves 4
Ingredients
- 3.4 ounces instant chocolate pudding mix
- 2 cups cold milk
- 8 ounces whipped topping (thawed)
- 10–12 Oreo cookies (crushed)
- 32 gummy worms
Instructions
- In a medium bowl, combine cold milk with the pudding mix and whisk until smooth.
- Allow the mixture to sit for about 5 minutes until it thickens.
- Gently fold in the whipped topping until well combined.
- Spoon the pudding mixture into serving glasses or cups.
- Top each cup with crushed Oreos.
- Finish with 4 gummy worms on top of each cup.
- Chill in the refrigerator until ready to serve.
- Prep Time: 10 minutes
- Cook Time: None
- Category: Dessert
- Method: No-Bake
- Cuisine: American
Nutrition
- Serving Size: 1 serving
- Calories: 300
- Sugar: 20g
- Sodium: 180mg
- Fat: 15g
- Saturated Fat: 9g
- Unsaturated Fat: 5g
- Trans Fat: 0g
- Carbohydrates: 38g
- Fiber: 1g
- Protein: 4g
- Cholesterol: 15mg