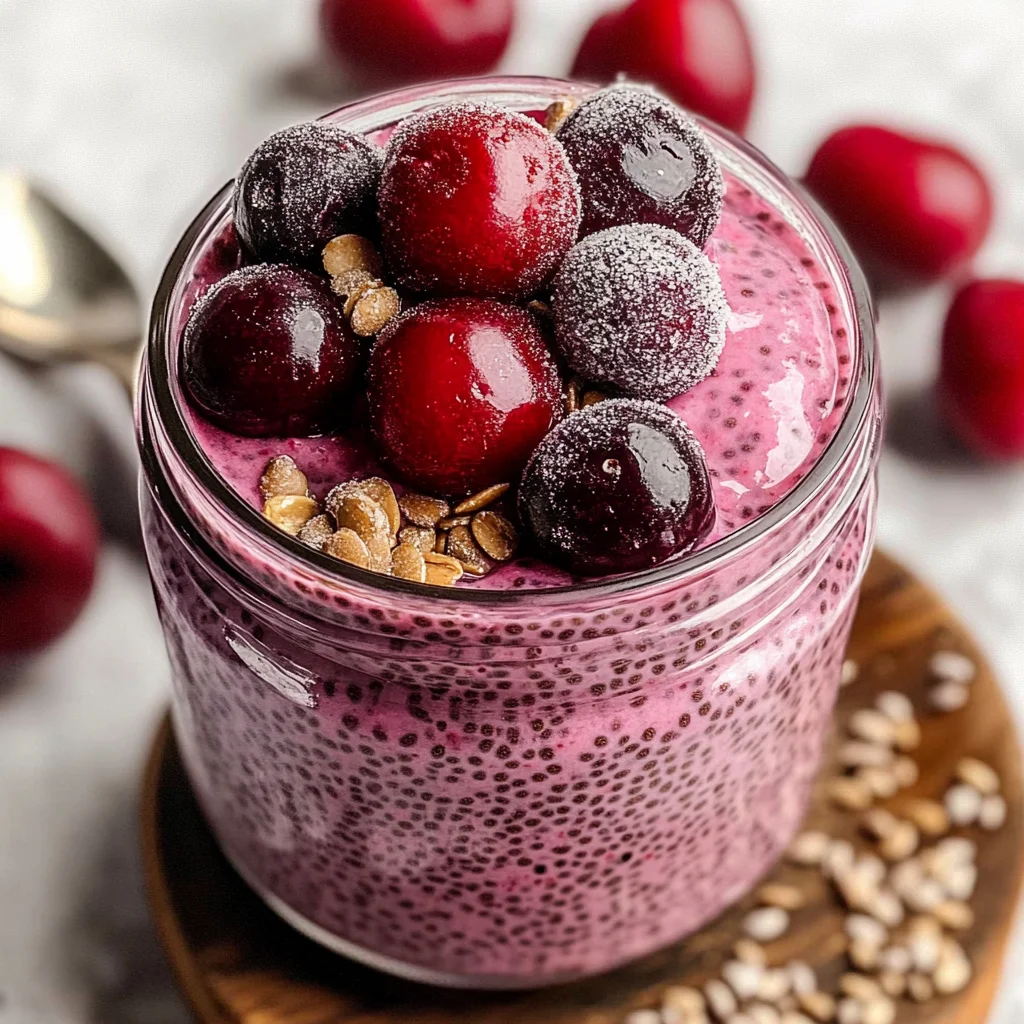
A delightful Cherry Chia Pudding is a perfect way to start your day. This creamy, flavorful dish is not only vegan and dairy-free but also packed with nutrients. Whether you need a quick breakfast or a satisfying snack, this cherry chia pudding fits the bill. It’s versatile enough for warm mornings or chilly afternoons, making it a must-try recipe.
Why You’ll Love This Recipe
- Quick to Prepare: With minimal effort, you can whip up this delicious pudding in just a few minutes.
- Nutritious Ingredients: Packed with fiber and antioxidants from cherries and chia seeds, this pudding supports your health.
- Customizable Flavor: Adjust the sweetness with maple syrup and experiment with toppings like nuts or fresh fruits.
- Vegan-Friendly: This recipe is completely plant-based, ensuring it’s suitable for various dietary preferences.
- Perfect for Meal Prep: Make it ahead of time for busy mornings—just grab and go!
Tools and Preparation
To make your cherry chia pudding effectively, having the right tools is crucial.
Essential Tools and Equipment
- Blender
- Jar or container
- Spoon
Importance of Each Tool
- Blender: A powerful blender ensures smooth blending of cherries, creating a creamy base for your pudding.
- Jar or Container: Using a jar allows for easy mixing and storage; it’s perfect for refrigerating overnight.
- Spoon: A simple tool that helps in stirring ingredients to achieve a consistent texture throughout the pudding.
Ingredients
For this tasty cherry chia pudding, gather the following ingredients:
For the Cherry Base
- 1/2 cup (70 g) frozen cherries
- 1/2 cup (125 ml) dairy-free milk
- 2 teaspoons maple syrup, or to taste
- 1/8 teaspoon almond extract, or to taste
For the Chia Component
- 3 tablespoons (30 g) whole chia seeds
How to Make Cherry Chia Pudding
Step 1: Blend the Cherry Ingredients
In a blender, combine the frozen cherries, dairy-free milk, maple syrup, and almond extract. Blend until smooth. A small personal blender works best for single servings.
Step 2: Combine with Chia Seeds
Pour the cherry mixture into a jar or container. Stir in the whole chia seeds until evenly distributed.
Step 3: Let It Rest
Allow the chia pudding to sit for about 10 minutes. Stir again to separate any clumps of seeds that may have formed.
Step 4: Refrigerate Overnight
Cover your container and refrigerate overnight. This resting period helps the pudding thicken properly. If your chia seeds gel quickly, you might only need a few hours.
Step 5: Serve and Enjoy
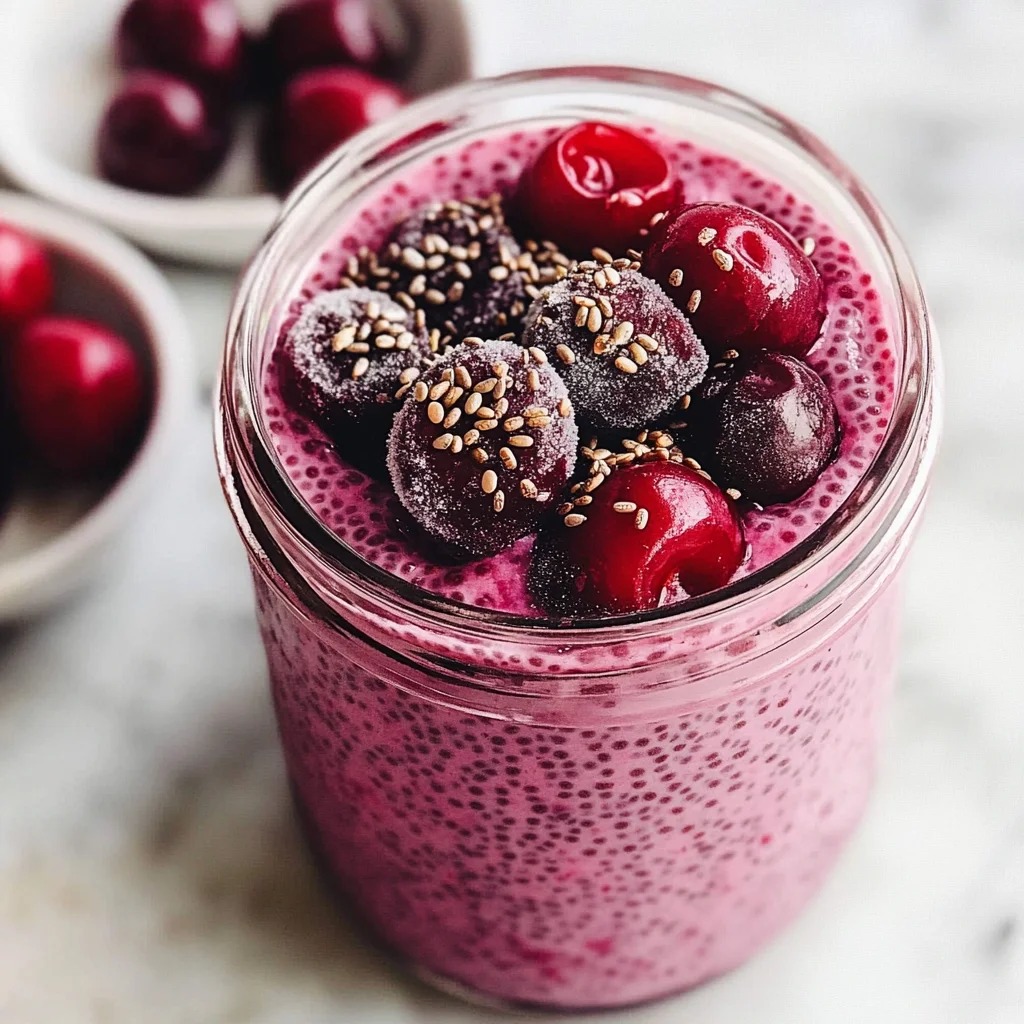
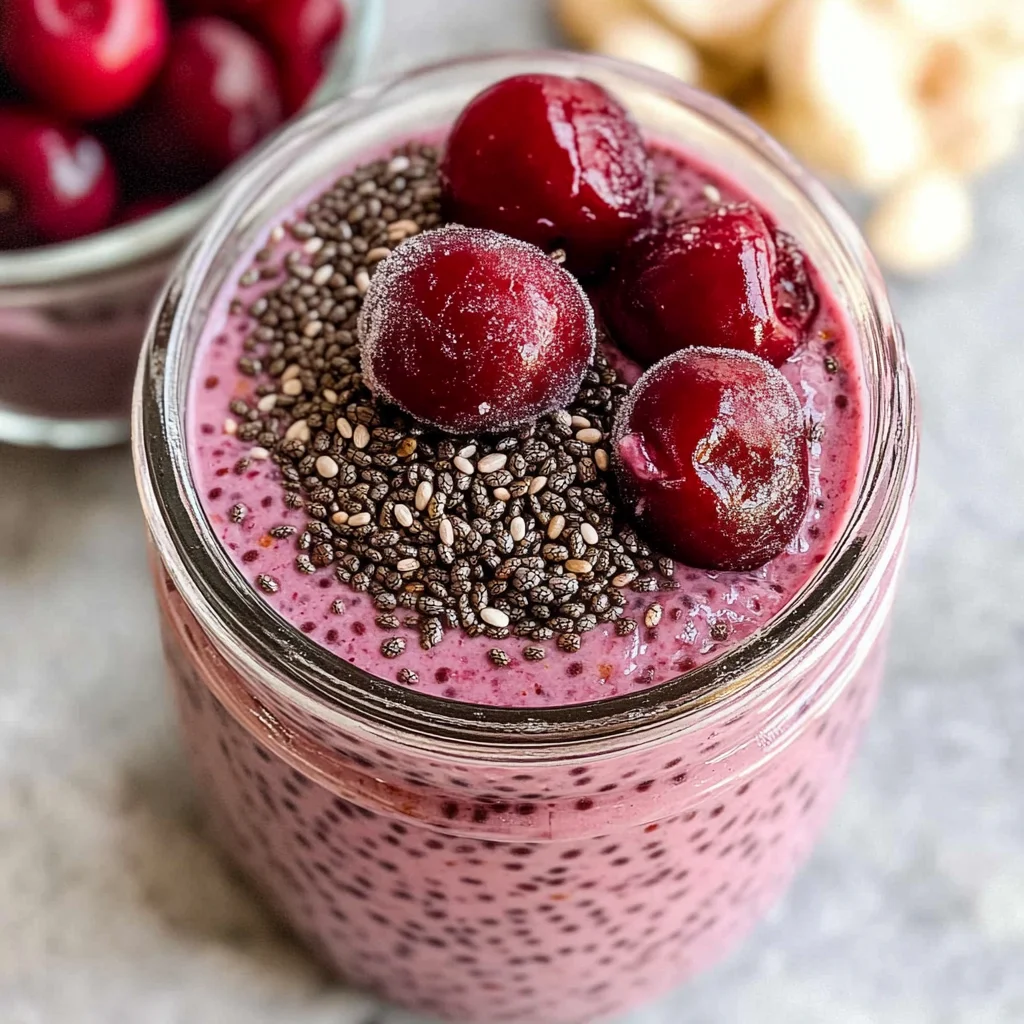
Before indulging in your cherry chia pudding, give it a good stir. If you desire more sweetness, add extra maple syrup according to your taste. Top with your favorite fruit or nuts if you’d like!
How to Serve Cherry Chia Pudding
Cherry chia pudding is a delightful and versatile dish that can be enjoyed in various ways. Whether you prefer it plain or with toppings, this pudding makes for a nutritious breakfast or snack.
Fresh Fruit Toppings
- Banana Slices: Add fresh banana slices for extra creaminess and natural sweetness.
- Berries: Top with strawberries, blueberries, or raspberries for a burst of flavor and antioxidants.
- Coconut Flakes: Sprinkle unsweetened coconut flakes on top for added texture and a tropical twist.
Nut Butter Swirl
- Almond Butter: Drizzle almond butter on top to enhance the taste and add healthy fats.
- Peanut Butter: For a classic pairing, swirl in some peanut butter for extra protein and richness.
Granola Crunch
- Homemade Granola: Add a handful of homemade granola for a satisfying crunch that complements the creamy pudding.
- Store-Bought Granola: Choose your favorite granola brand, ensuring it’s free from unwanted additives.
Seeds and Nuts
- Chopped Nuts: Almonds or walnuts can provide an excellent crunch and additional nutrients.
- Pumpkin Seeds: Sprinkle pumpkin seeds on top for a nutritious boost of fiber and healthy fats.
How to Perfect Cherry Chia Pudding
Making the ideal cherry chia pudding is all about balancing flavors and achieving the perfect texture. Here are some helpful tips:
- Blend Until Smooth: Ensure your cherry mixture is completely smooth before adding chia seeds to avoid clumps.
- Adjust Sweetness: Taste your mixture before refrigerating. You can always add more maple syrup if you prefer it sweeter.
- Stir Well: After letting it sit for 10 minutes, stir again to ensure even distribution of chia seeds throughout the pudding.
- Chill Overnight: Allowing it to set overnight ensures that the pudding thickens properly, achieving the desired consistency.
- Experiment with Flavors: Try adding vanilla extract or different fruits to create unique flavor combinations.
Best Side Dishes for Cherry Chia Pudding
Pairing your cherry chia pudding with side dishes can elevate your meal experience. Here are some great options to consider:
- Fruit Salad: A refreshing mix of seasonal fruits can complement the sweetness of the pudding perfectly.
- Smoothie Bowl: A vibrant smoothie bowl packed with greens and fruits adds variety and nutrition to your breakfast.
- Avocado Toast: Creamy avocado on whole-grain bread provides healthy fats that balance out your meal.
- Oatmeal Bowl: A warm bowl of oatmeal topped with nuts or fruits keeps you full longer while being nutritious.
- Yogurt Parfait: Layer dairy-free yogurt with granola and fresh fruits for a creamy contrast to your chia pudding.
- Nutritious Muffins: Pairing with healthy muffins made from oats or whole grains offers a satisfying bite.
Common Mistakes to Avoid
Making cherry chia pudding can be simple, but there are common pitfalls that can affect the texture and flavor. Here are some mistakes to avoid:
- Not blending well enough: Ensure the cherries and other ingredients are blended until smooth. This creates a creamy pudding instead of a lumpy mixture.
- Skipping the resting time: Allowing the chia pudding to sit is crucial for it to thicken properly. If you skip this step, you may end up with a runny consistency.
- Using the wrong type of chia seeds: Always use whole chia seeds for the best results. Ground chia seeds may not provide the same texture and gelling properties.
- Over-sweetening: It’s easy to add too much maple syrup. Start with a small amount and taste before adding more sweetness to avoid overpowering flavors.
- Not refrigerating long enough: For optimal thickness, refrigerate the pudding overnight. If you only let it sit for a short time, it might not set properly.
Storage & Reheating Instructions
Refrigerator Storage
- Store in an airtight container for up to 5 days.
- Keep in the fridge to maintain freshness.
Freezing Cherry Chia Pudding
- Freeze for up to 3 months in a freezer-safe container.
- Thaw overnight in the refrigerator before consuming.
Reheating Cherry Chia Pudding
- Oven: Preheat your oven to 350°F (175°C) and warm the pudding in an oven-safe dish for about 10 minutes.
- Microwave: Heat in short intervals of 20-30 seconds, stirring in between until warmed through.
- Stovetop: Gently heat over low heat while stirring continuously until warmed.
Frequently Asked Questions
Here are some common questions about cherry chia pudding that may help you enjoy this delicious treat even more.
What is Cherry Chia Pudding?
Cherry chia pudding is a creamy and healthy breakfast option made with chia seeds, cherries, and dairy-free milk. It’s rich in nutrients and perfect for meal prep.
How can I customize my Cherry Chia Pudding?
You can add different fruits like bananas or mangoes, nuts, or seeds as toppings. Experiment with spices like cinnamon or vanilla extract for added flavor.
Can I use fresh cherries instead of frozen?
Yes, you can use fresh cherries if they are available! Just make sure they are pitted and chopped before blending.
Is Cherry Chia Pudding suitable for meal prep?
Absolutely! This recipe is great for meal prep as it stores well in the fridge and can be enjoyed throughout the week.
Final Thoughts
Cherry chia pudding is not only delicious but also versatile. You can easily customize it with your favorite fruits or toppings. Whether enjoyed as a breakfast or snack, this healthy option will surely satisfy your cravings. Give it a try today!

Cherry Chia Pudding
Indulge in a creamy and nutritious Cherry Chia Pudding that perfectly balances flavor and health. This delightful dish is not only vegan and dairy-free but also brimming with antioxidants from cherries and fiber-rich chia seeds. Ideal for breakfast or as a refreshing snack, this pudding can be prepared in just minutes, making it a perfect fit for busy lifestyles. With its customizable sweetness and endless topping options, you can enjoy this versatile treat any time of day. Whip it up the night before for a quick grab-and-go meal that satisfies your cravings while keeping you energized.
- Total Time: 0 hours
- Yield: Serves 2
Ingredients
- 1/2 cup frozen cherries
- 1/2 cup dairy-free milk
- 2 teaspoons maple syrup (to taste)
- 1/8 teaspoon almond extract (to taste)
- 3 tablespoons whole chia seeds
Instructions
- Blend the frozen cherries, dairy-free milk, maple syrup, and almond extract until smooth.
- Pour the cherry mixture into a jar or container and stir in the chia seeds until evenly mixed.
- Allow the mixture to rest for about 10 minutes, then stir again to separate any clumps.
- Cover and refrigerate overnight or for at least a few hours until thickened.
- Before serving, stir well and adjust sweetness if desired. Top with your favorite fruits or nuts.
- Prep Time: 10 minutes
- Cook Time: None
- Category: Dessert
- Method: No-cook
- Cuisine: Vegan
Nutrition
- Serving Size: 1/2 cup (150g)
- Calories: 200
- Sugar: 10g
- Sodium: 50mg
- Fat: 9g
- Saturated Fat: 0g
- Unsaturated Fat: 9g
- Trans Fat: 0g
- Carbohydrates: 30g
- Fiber: 11g
- Protein: 5g
- Cholesterol: 0mg