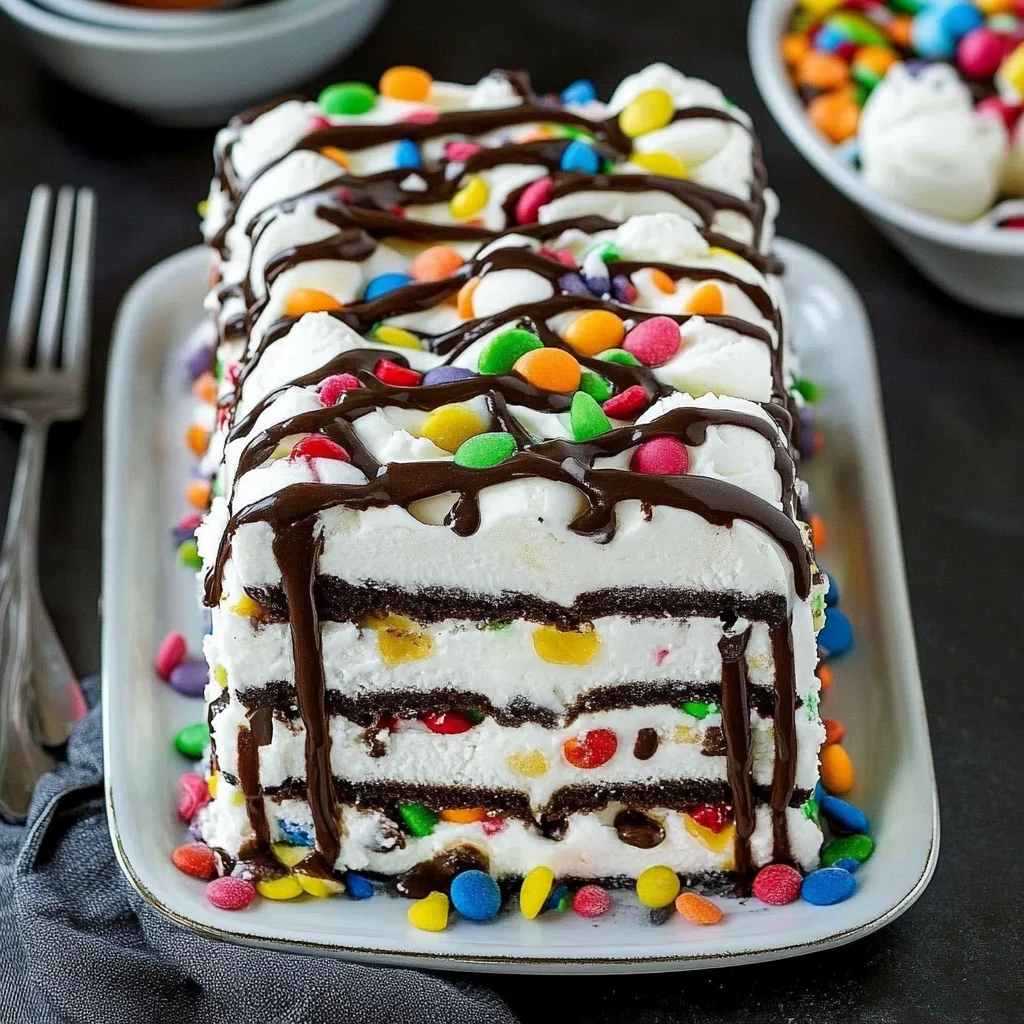
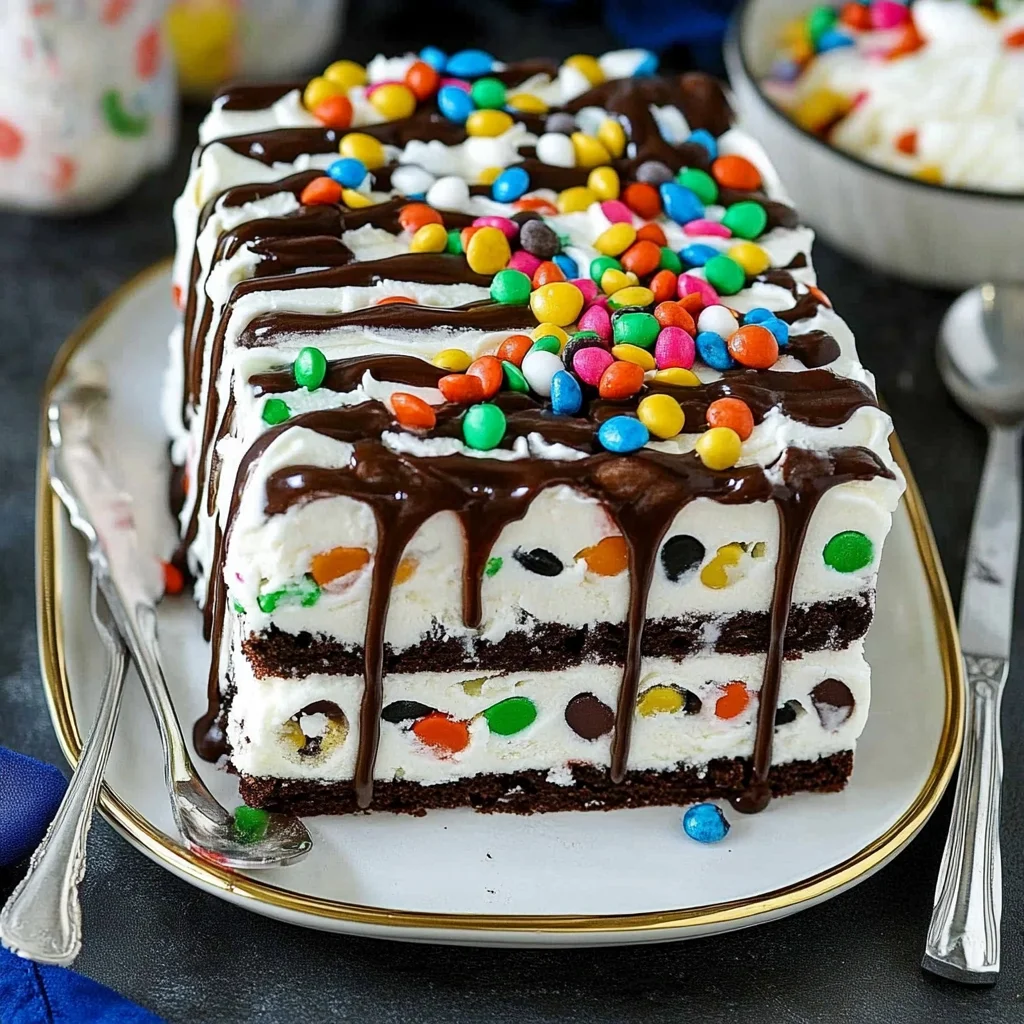
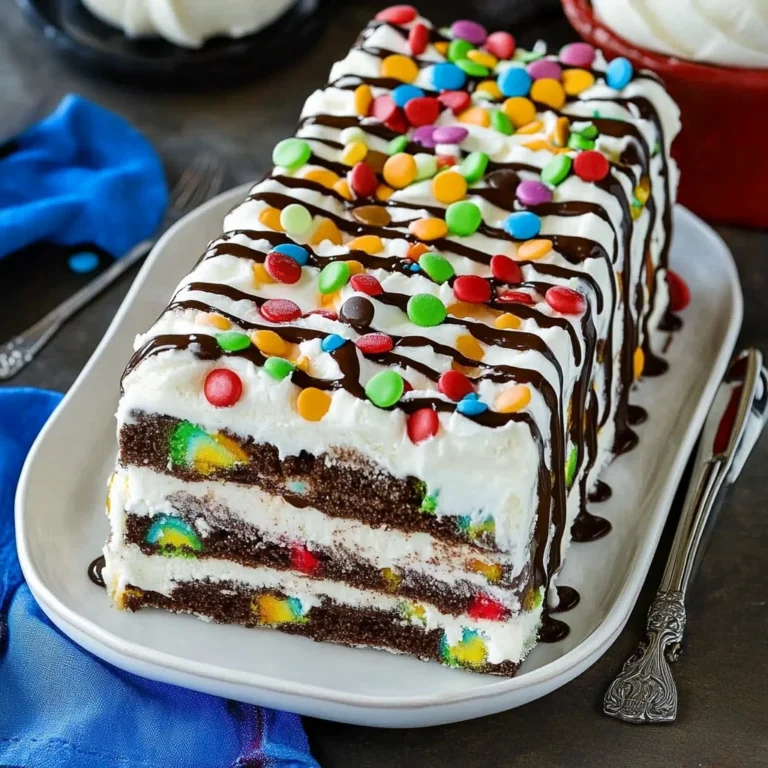
This Ice Cream Sandwich Cake is a delightful and easy dessert that layers ice cream sandwiches, whipped topping, and colorful candies into a show-stopping treat. Whether it’s for a summer gathering, a birthday party, or a school event, this cake is sure to impress everyone. The combination of creamy texture and crunchy toppings makes it a unique addition to any occasion.
Why You’ll Love This Recipe
- Effortless Assembly: This cake requires no baking, making it quick and simple to put together.
- Delicious Flavor Combo: The blend of ice cream sandwiches with whipped topping and chocolatey candies creates an irresistible taste.
- Versatile Design: You can customize the toppings with your favorite candies and flavors to make it your own.
- Perfect for Sharing: With 12 servings, it’s great for gatherings where you want to serve something fun and sweet.
- Kid-Friendly Treat: Kids love ice cream sandwiches, so this dessert is a hit for all ages.
Tools and Preparation
Before you start making your Ice Cream Sandwich Cake, gather the necessary tools. Using the right equipment will make the process smoother and ensure fantastic results.
Essential Tools and Equipment
- Piping bag with large star tip
- Serving plate
- Freezer-safe container
Importance of Each Tool
- Piping bag with large star tip: This tool helps you create beautiful dollops of whipped topping that elevate the cake’s presentation.
- Serving plate: A sturdy serving plate provides support for layers and makes serving easier.
- Freezer-safe container: Ensures your cake stays frozen properly until you’re ready to serve.
Ingredients
This ice cream sandwich cake is layered with deliciousness! Here’s what you need:
For the Cake Layers
- 12 ice cream sandwiches (unwrapped)
- 16 ounces whipped topping (thawed)
For the Toppings
- 1/2 cup miniature chocolate chips
- 3/4 cup mini M&M’s
- 1/3 cup fudge sauce

How to Make Ice Cream Sandwich Cake
Step 1: Arrange the First Layer
Place 4 ice cream sandwiches in a row on a serving plate.
Step 2: Add Whipped Topping
Use a piping bag fitted with a large star tip to pipe dollops of whipped topping over the ice cream sandwiches.
Step 3: Sprinkle Toppings
Sprinkle chocolate chips and M&M’s generously over the layer of whipped topping.
Step 4: Freeze the Layer
Freeze until firm, about 30 minutes.
Step 5: Repeat the Layers
Repeat Steps 1-3 with the remaining ice cream sandwiches, whipped topping, and candies to create a total of 3 layers. Ensure each layer freezes until firm before adding the next layer.
Step 6: Final Freeze
Once all layers are assembled, freeze the entire cake until firm for at least 1 hour.
Step 7: Serve Your Cake
Drizzle fudge sauce over the top of the cake. Cut into slices then serve!
Enjoy your homemade Ice Cream Sandwich Cake! It’s not just easy; it’s also packed with flavor that everyone will love.
How to Serve Ice Cream Sandwich Cake
Serving your ice cream sandwich cake can elevate any gathering. This dessert is not only visually appealing but also customizable to suit various tastes. Here are some creative ideas for serving it at your next event.
Individual Servings
- Use small plates for individual portions to make serving easy and neat.
- Top each slice with extra whipped topping for added flair.
With Fresh Fruit
- Serve alongside fresh berries like strawberries or raspberries for a refreshing contrast.
- Sliced bananas can add a creamy texture that complements the cake perfectly.
Drizzled with Sauce
- Offer chocolate or caramel sauce on the side for drizzling over each slice.
- A sprinkle of powdered sugar can add a touch of elegance.
Ice Cream Scoops
- Pair the cake with a scoop of vanilla or chocolate ice cream for an extra indulgent treat.
- Consider using flavored ice creams to match the candy toppings you used.
At Parties
- Cut into smaller squares for easy handling at parties or picnics.
- Arrange on a festive platter with colorful candies scattered around.
How to Perfect Ice Cream Sandwich Cake
Creating the perfect ice cream sandwich cake takes just a few tweaks. Follow these simple tips to ensure your dessert impresses everyone.
- Choose Quality Ingredients: Use high-quality ice cream sandwiches and fresh whipped topping for the best flavor and texture.
- Layer Carefully: Spread whipped topping evenly between layers to avoid collapsing when slicing.
- Freeze Properly: Ensure each layer is frozen solid before adding another to maintain structure.
- Decorate Creatively: Use various toppings like crushed cookies, nuts, or sprinkles to enhance visual appeal and taste.
- Serve Chilled: Let the cake sit out only briefly before serving; it’s best enjoyed cold!
Best Side Dishes for Ice Cream Sandwich Cake
Pairing side dishes with your ice cream sandwich cake can create a delightful meal experience. Here are some great options to consider.
- Fruit Salad: A fresh mix of seasonal fruits provides a light and refreshing contrast to the rich cake.
- Chocolate-Covered Strawberries: These sweet treats add elegance and are easy to prepare.
- Mini Cheesecakes: Bite-sized cheesecakes complement the textures in your cake while offering a different flavor profile.
- Brownie Bites: Rich chocolate brownie bites provide a deliciously decadent pairing with your dessert.
- Pineapple Upside-Down Cake: The tropical flavors balance well with the sweetness of the ice cream sandwich cake.
- Whipped Cream Dip: A fluffy dip served with graham crackers or fruit adds an interactive element to dessert time.
Common Mistakes to Avoid
To ensure your ice cream sandwich cake turns out perfectly, here are some common mistakes to watch for.
- Skipping the freezing step: Not allowing each layer to freeze properly can lead to a messy cake. Always freeze each layer until firm before adding the next.
- Using non-thawed whipped topping: If the whipped topping is not fully thawed, it won’t spread easily. Make sure to let it thaw in the fridge beforehand for the best texture.
- Overloading on toppings: Adding too many candies can make the cake unstable. Stick to recommended amounts for a balanced dessert that holds together well.
- Not using a piping bag: Attempting to spread whipped topping with a spatula can result in uneven layers. A piping bag ensures beautiful dollops and an attractive finish.
- Ignoring serving size: Cutting the cake too large can make it hard to serve. Aim for smaller slices to keep portions manageable and enjoyable.
Refrigerator Storage
- Store the ice cream sandwich cake in an airtight container.
- It will last up to 3 days in the refrigerator, but it’s best enjoyed fresh.
Freezing Ice Cream Sandwich Cake
- Wrap the cake tightly in plastic wrap or foil before freezing.
- It can be frozen for up to 2 weeks without losing quality.
Reheating Ice Cream Sandwich Cake
- Oven: Preheat to 350°F. Place slices on a baking sheet for about 5 minutes.
- Microwave: Heat individual slices on low power for 15-20 seconds. This softens without melting completely.
- Stovetop: Use a non-stick skillet on low heat for about 10 seconds per slice, flipping halfway through.
Frequently Asked Questions
What is an ice cream sandwich cake?
An ice cream sandwich cake is a layered dessert made with ice cream sandwiches, whipped topping, and various toppings like candies. It’s easy to prepare and perfect for any gathering.
How long does it take to make an ice cream sandwich cake?
The prep time is around 20 minutes, while freezing takes at least one hour. Therefore, plan accordingly if you’re making it for an event!
Can I customize my ice cream sandwich cake?
Absolutely! You can add different toppings like crushed cookies or fruit, or use flavored whipped toppings for variety.
How do I store leftover ice cream sandwich cake?
Store it in an airtight container in the freezer for up to two weeks. Make sure it’s well-wrapped to avoid freezer burn.
Final Thoughts
This ice cream sandwich cake is not only delicious but also incredibly versatile. You can customize it with your favorite toppings or flavors, making it perfect for any occasion. Try this simple yet impressive dessert at your next gathering—you won’t be disappointed!
Ice Cream Sandwich Cake
Indulge in the delightful experience of Ice Cream Sandwich Cake, a no-bake dessert that brings layers of creamy ice cream sandwiches, fluffy whipped topping, and colorful candies together in one show-stopping treat. Perfect for any occasion—be it summer parties, birthdays, or school events—this cake is easy to assemble and guarantees smiles all around. With a unique combination of textures and flavors, it’s great for sharing with friends and family. Customize it with your favorite toppings to make it uniquely yours!
- Total Time: 0 hours
- Yield: Serves approximately 12 1x
Ingredients
- 12 ice cream sandwiches (unwrapped)
- 16 ounces whipped topping (thawed)
- 1/2 cup miniature chocolate chips
- 3/4 cup mini M&M’s
- 1/3 cup fudge sauce
Instructions
- Arrange 4 ice cream sandwiches in a row on a serving plate.
- Pipe dollops of whipped topping over the sandwiches using a piping bag.
- Sprinkle chocolate chips and M&M’s on top of the whipped topping.
- Freeze until firm, about 30 minutes.
- Repeat layering process with remaining ingredients to create a total of 3 layers.
- Freeze the entire cake for at least 1 hour after assembly.
- Drizzle fudge sauce on top before slicing and serving.
- Prep Time: 20 minutes
- Cook Time: Freezing time varies
- Category: Dessert
- Method: No-bake
- Cuisine: American
Nutrition
- Serving Size: 1 slice (approx. 130g)
- Calories: 320
- Sugar: 24g
- Sodium: 160mg
- Fat: 14g
- Saturated Fat: 7g
- Unsaturated Fat: 6g
- Trans Fat: 0g
- Carbohydrates: 46g
- Fiber: 1g
- Protein: 3g
- Cholesterol: 25mg