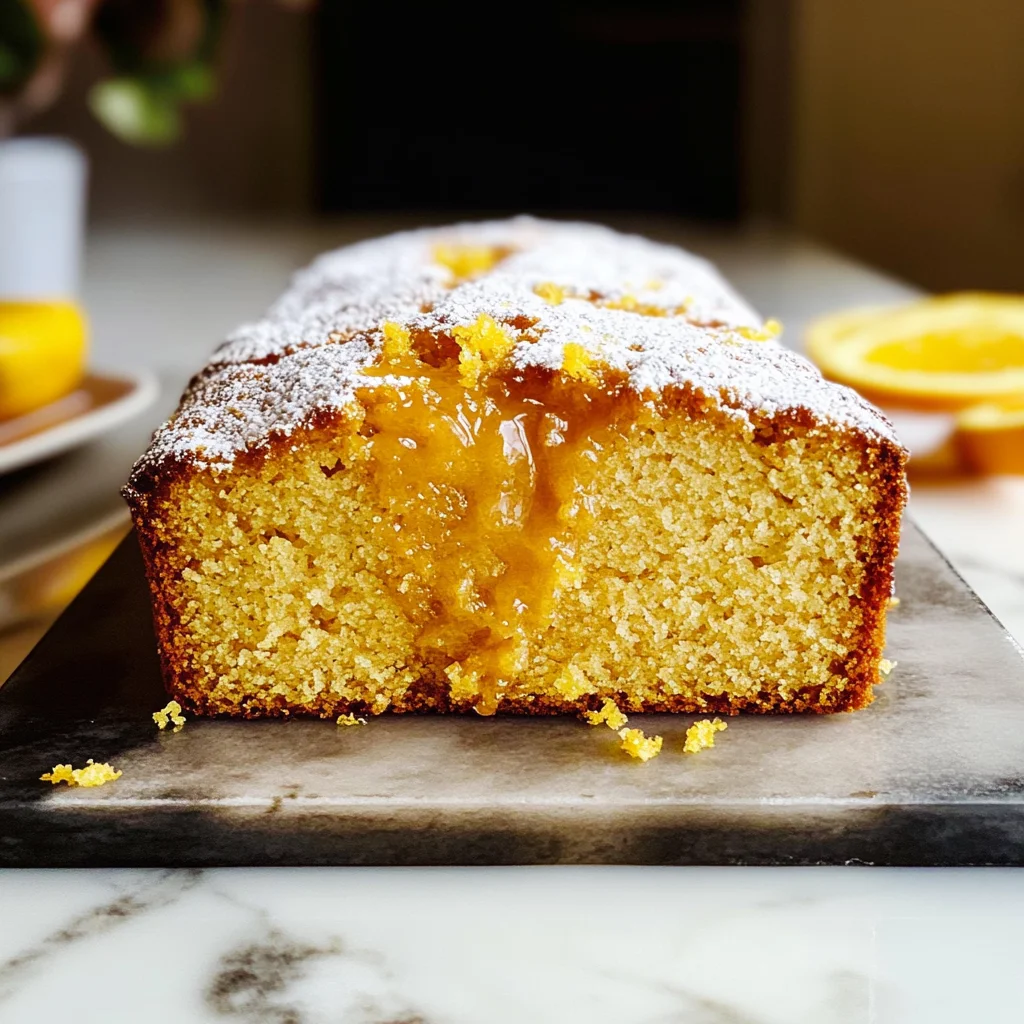
Make this easy orange cake recipe in the blender, and top it with an orange glaze for a sweet, citrusy dessert! The Orange Blender Cake is perfect for any occasion, from family gatherings to casual weeknight dinners. This delightful cake stands out with its vibrant flavor and simple preparation, making it a go-to recipe for both novice and experienced bakers.
Why You’ll Love This Recipe
- Quick to Prepare: Blending all the ingredients saves time and effort, allowing you to enjoy your cake faster.
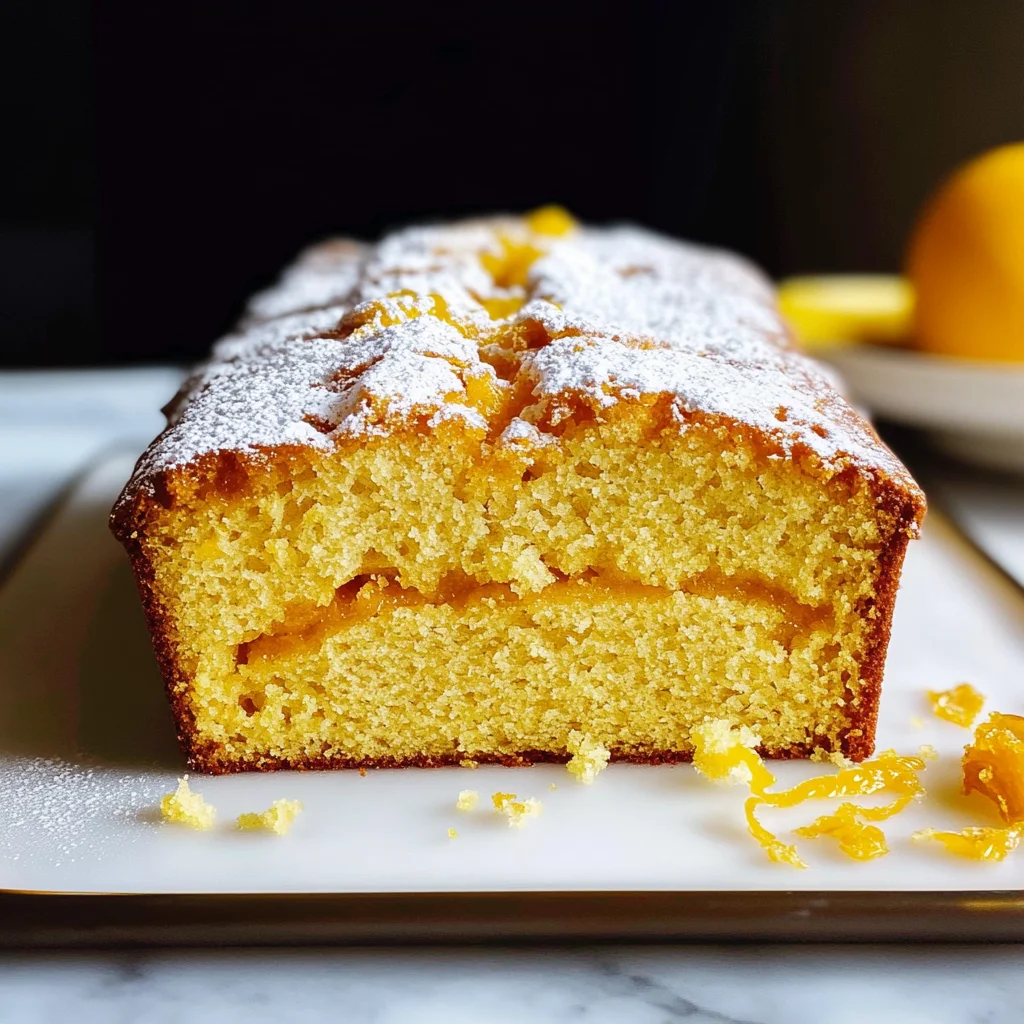
- Bursting with Flavor: The use of a whole orange makes this cake exceptionally flavorful, infusing every bite with natural citrus goodness.
- Versatile Dessert: Serve it plain or dress it up with a glaze or powdered sugar; it suits any occasion.
- Moist Texture: The combination of olive oil and sour cream keeps the cake incredibly moist and tender.
- Family-Friendly: With easy-to-find ingredients, this recipe is great for baking with kids.
Tools and Preparation
Before diving into the baking process, gather your tools to ensure a smooth experience.
Essential Tools and Equipment
- Blender
- 9×5 loaf pan
- Mixing bowl
- Wire rack
- Measuring cups and spoons
Importance of Each Tool
- Blender: Essential for quickly combining all ingredients into a smooth batter without much hassle.
- Loaf Pan: Provides the perfect shape for the cake, ensuring even baking throughout.
- Wire Rack: Allows the cake to cool evenly after baking, preventing sogginess on the bottom.
Ingredients
Make this easy orange cake recipe in the blender, and top it with an orange glaze for a sweet, citrusy dessert!
For the Cake
- 1 whole seedless navel orange (washed, quartered, and seeds removed)
- 4 eggs (at room temperature)
- 3/4 cup olive oil
- 1 1/4 cup granulated sugar
- 1/4 cup sour cream
- 2 teaspoons vanilla extract
- 2 cups all-purpose flour
- 3 teaspoons baking powder
- 1/2 teaspoon sea salt
For the Glaze
- 1 cup confectioners’ sugar
- 1-2 Tablespoons orange juice
How to Make Orange Blender Cake
Step 1: Preheat the Oven
Preheat your oven to 350 degrees Fahrenheit (175 degrees Celsius). Grease and flour a 9×5 loaf pan or line it with parchment paper for easy removal.
Step 2: Blend Wet Ingredients
In a blender, combine the whole seedless navel orange (quartered and seeds removed), eggs, olive oil, granulated sugar, sour cream, and vanilla. Process the mixture until smooth. Be careful not to over-blend.
Step 3: Combine Dry Ingredients
Add the dry ingredients to the blender. Pulse just a few times until they are incorporated into the wet mixture. Do not overmix.
Step 4: Bake the Cake
Pour the batter into the prepared loaf pan. Bake in the preheated oven for 50-55 minutes or until a toothpick inserted into the center comes out clean and the top is golden brown.
Step 5: Cool Down
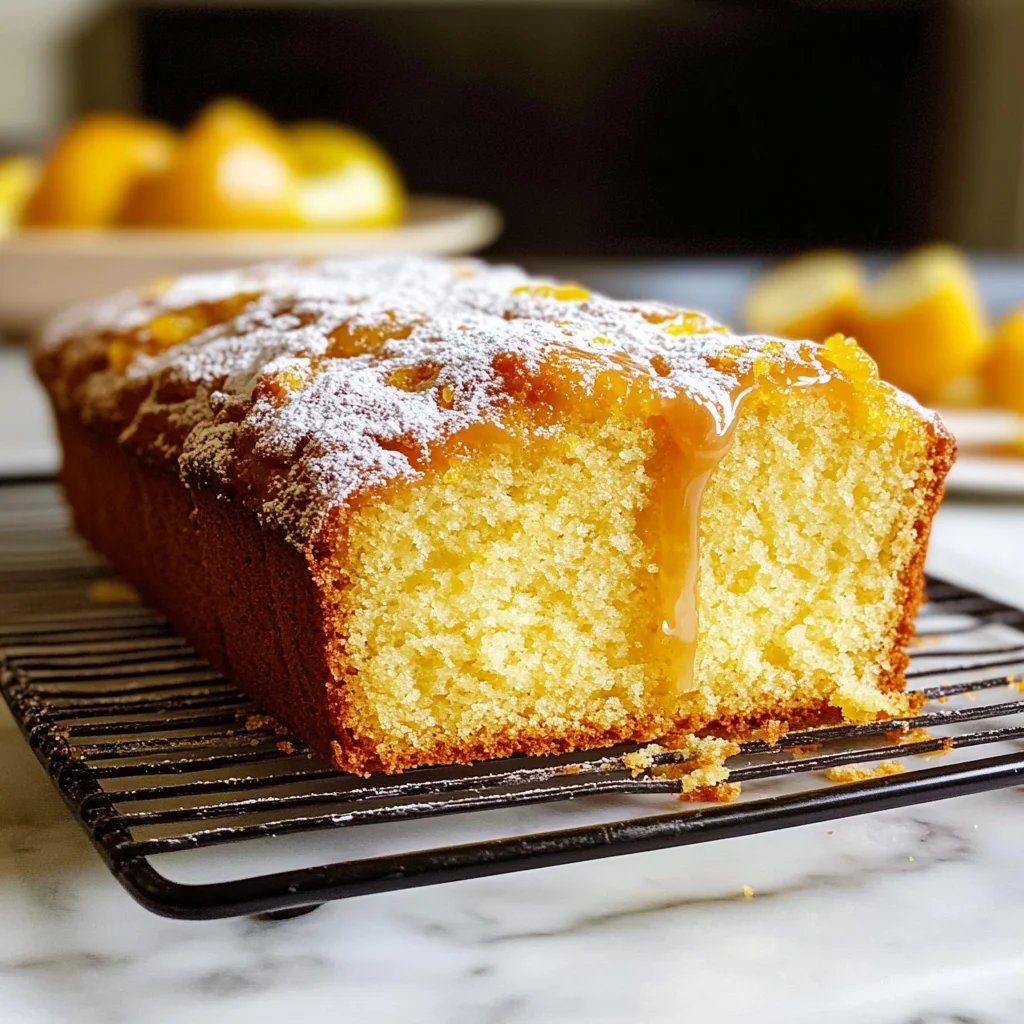
Once baked, remove from oven and let cool in pan for about 10 minutes. Then transfer to a wire rack to cool completely.
Step 6: Optional Decoration
Once cooled, you can serve as is or dust with powdered sugar for decoration. Enjoy your delicious Orange Blender Cake!
How to Serve Orange Blender Cake
Orange Blender Cake is a delightful dessert that can be enjoyed in various ways. Whether you’re serving it at a gathering or enjoying a slice with your morning coffee, here are some creative serving suggestions.
With Fresh Whipped Cream
- Lightly sweetened whipped cream adds a creamy contrast to the zesty cake.
Topped with Fresh Berries
- Add a mix of strawberries, blueberries, and raspberries for a burst of color and flavor.
Drizzled with Orange Glaze
- A simple orange glaze made from confectioners’ sugar and orange juice enhances the citrusy notes of the cake.
As Part of a Dessert Platter
- Slice the cake into small pieces and serve alongside other desserts for a variety of flavors.
With Coconut Flakes
- Sprinkle toasted coconut on top for added texture and flavor that complements the orange.
Served Warm
- Enjoy the cake slightly warmed for a comforting treat, especially during cooler months.
How to Perfect Orange Blender Cake
To ensure your Orange Blender Cake turns out perfectly every time, keep these tips in mind.
- Use Room Temperature Eggs – Eggs blend more easily and create a lighter texture when they are at room temperature.
- Do Not Overmix – Pulse the blender just enough to combine ingredients; overmixing can lead to a dense cake.
- Check Oven Temperature – Use an oven thermometer to ensure your oven is at the right temperature for even baking.
- Cool Properly – Allow the cake to cool in the pan before transferring it to a wire rack to prevent sogginess.
- Use Quality Ingredients – Fresh oranges and high-quality olive oil make a noticeable difference in taste.
Best Side Dishes for Orange Blender Cake
Pairing your Orange Blender Cake with the right side dishes can elevate your dessert experience. Here are some excellent options:
- Greek Yogurt Parfait – Layer Greek yogurt with granola and fresh fruit for a refreshing contrast.
- Chocolate Mousse – Rich chocolate mousse pairs beautifully with the citrus notes of the cake.
- Fruit Salad – A light fruit salad balances sweetness and adds freshness.
- Chia Seed Pudding – Creamy chia pudding offers an interesting texture that complements the cake.
- Ice Cream – Serve with vanilla or citrus-flavored ice cream for a classic dessert combination.
- Cheese Platter – A selection of cheeses can provide savory balance to your sweet treat.
- Nut Mix – A mix of nuts gives crunch and contrasts nicely with the soft texture of the cake.
Common Mistakes to Avoid
Making the perfect Orange Blender Cake is easier than you think, but there are a few common mistakes to avoid.
- Over-blending: Blending the batter too long can lead to a dense cake. Blend just until smooth for the best texture.
- Incorrect oven temperature: Baking at the wrong temperature can cause uneven baking. Always preheat your oven to 350°F (175°C) for optimal results.
- Not measuring ingredients accurately: Using incorrect measurements can affect the cake’s rise and texture. Use measuring cups and spoons for precise amounts.
- Skipping the cooling step: Allowing the cake to cool in the pan is important for easy removal. Wait at least 10 minutes before transferring it to a wire rack.
- Ignoring ingredient temperature: Using eggs that are not at room temperature can impact how well they incorporate into the batter. Let your eggs sit out for about 30 minutes before using them.
Storage & Reheating Instructions
Refrigerator Storage
- Store any leftover Orange Blender Cake in an airtight container.
- The cake will stay fresh for up to 3-5 days in the refrigerator.
Freezing Orange Blender Cake
- Wrap slices of the cake tightly in plastic wrap or aluminum foil.
- Freeze for up to 2-3 months. Thaw in the refrigerator overnight before serving.
Reheating Orange Blender Cake
- Oven: Preheat your oven to 350°F (175°C). Place slices on a baking sheet and warm for about 10 minutes.
- Microwave: Heat individual slices on medium power for 15-20 seconds until warmed through.
- Stovetop: Use a skillet over low heat, adding a tiny bit of water, cover, and steam for a few minutes until warm.
Frequently Asked Questions
Here are some common questions about making an Orange Blender Cake.
Can I use other types of oranges?
Yes! While navel oranges work best, you can use other sweet varieties like blood oranges or Valencia oranges for a different flavor profile.
How can I customize my Orange Blender Cake?
Feel free to add spices like cinnamon or nutmeg, or incorporate chocolate chips or nuts into the batter for added texture and flavor.
What if my cake is too dense?
If your Orange Blender Cake turns out dense, ensure you did not over-blend and that your baking powder is fresh. Proper measurements are also crucial.
Can I make this recipe gluten-free?
Absolutely! Substitute all-purpose flour with a gluten-free blend that measures cup-for-cup. Adjust as necessary based on your chosen flour type.
Final Thoughts
This Orange Blender Cake is not only simple to make but also offers a delightful citrus flavor that everyone will enjoy. Its versatility allows you to customize it with various add-ins or toppings. Don’t hesitate to try this recipe and make it your own!

Orange Blender Cake
Ingredients