
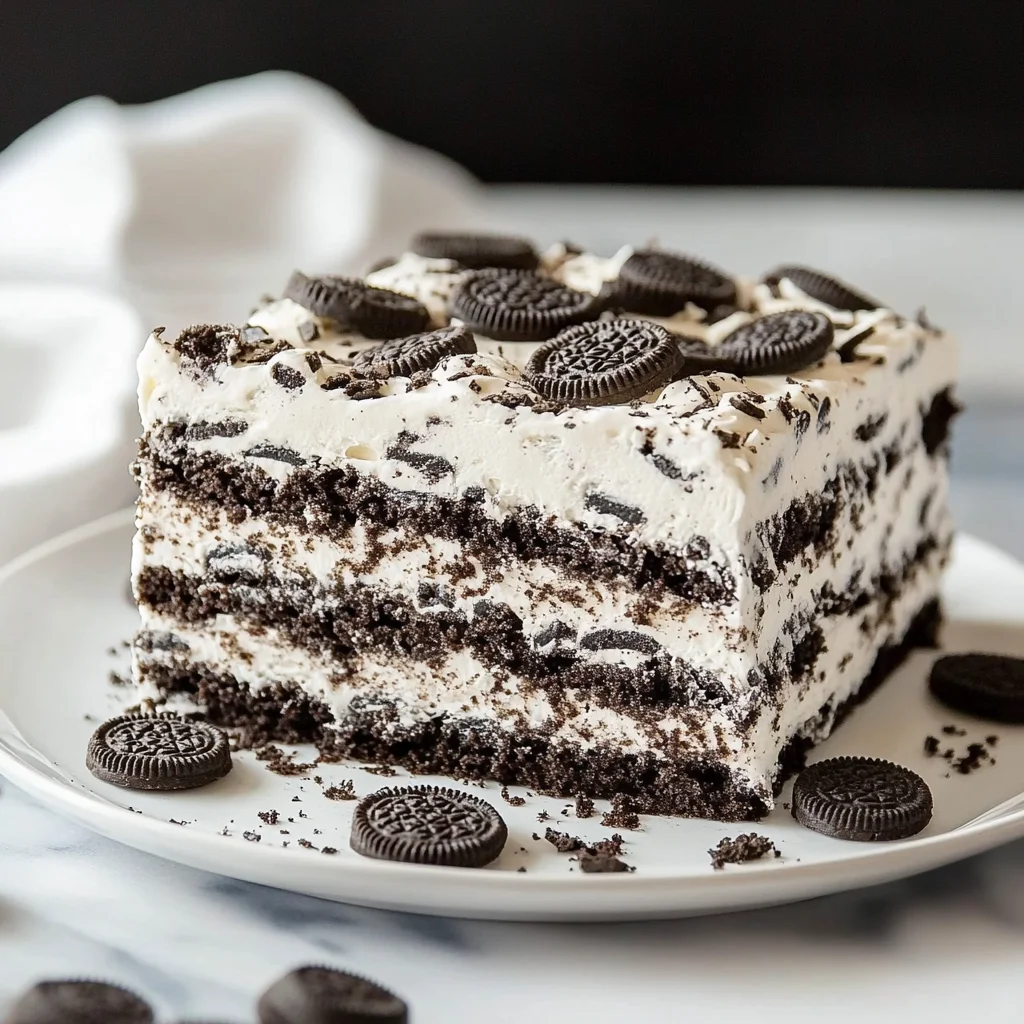
Oreo Icebox Cake is a delightful dessert that captures the essence of summer with its creamy layers and rich flavors. This no-bake treat combines crunchy Oreo cookies with a smooth chocolate filling, making it perfect for parties, picnics, or family gatherings. Its unique blend of textures and tastes will impress everyone at the table!
Why You’ll Love This Recipe
- Easy to Make: With simple steps and minimal cooking required, this recipe is perfect for any skill level.
- No-Bake Delight: Enjoy a delicious dessert without turning on the oven, keeping your kitchen cool in the warm months.
- Crowd-Pleaser: The combination of Oreos and creamy chocolate ensures that everyone will love this dessert.
- Versatile Serving Options: Great for birthdays, holidays, or just a sweet treat after dinner.
- Make Ahead: Prepare it in advance and let it chill in the fridge, making entertaining easy.
Tools and Preparation
Before you start making your Oreo Icebox Cake, gather your tools. Having everything ready will streamline the process.
Essential Tools and Equipment
- Mixing bowls
- Electric mixer
- 8×8 inch pan
- Heatproof bowl
- Microwave
Importance of Each Tool
- Electric mixer: Ensures that your cream cheese and heavy cream achieve the right texture quickly.
- Heatproof bowl: Necessary for safely melting chocolate without burning it.
Ingredients
Oreo Icebox Cake is the perfect dessert for summer. Made with layers of Oreo cookies, a creamy chocolate filling and whipped cream.
For the Chocolate Filling
- 4 oz semi-sweet chocolate (chopped into small pieces)
- 1 cup heavy cream/whipping cream
- 8 oz cream cheese (full-fat, brick style)
- 1/2 cup powdered sugar
For the Layers
- 32 Oreo Cookies
- 1/2 cup milk (for dipping the cookies in)
For Topping
- 3/4 cup heavy cream
- 2 tablespoons powdered sugar
- 4-6 Oreo cookies (chopped)
How to Make Oreo Icebox Cake
Step 1: Prepare the Chocolate Filling
- Add the chopped chocolate to a heatproof bowl. Microwave for 45 seconds on medium power. Remove from microwave and stir. Repeat until melted.
- In a large mixing bowl, beat the heavy cream until stiff peaks form.
- In another bowl, beat the cream cheese until soft. Mix in melted chocolate and powdered sugar.
- Gently fold in whipped cream until smooth.
Step 2: Assemble the Cake Layers
- Spread 1-2 tablespoons of chocolate filling on the bottom of an 8×8 inch pan.
- Dunk each Oreo cookie briefly in milk, shake off excess liquid, then layer them in rows at the bottom of the pan (4 rows of 4 cookies).
- Spoon remaining chocolate filling over Oreos and smooth out.
Step 3: Add Final Layers
- Dunk remaining Oreos in milk and place them on top of the chocolate filling, pressing down gently.
- Refrigerate while preparing topping.
Step 4: Prepare Topping
- Beat 3/4 cup heavy cream with 2 tablespoons powdered sugar until stiff peaks form.
- Spread whipped cream over top of icebox cake and sprinkle with chopped Oreos.
Step 5: Chill Before Serving
Place in fridge to set for at least 6 hours before serving to allow flavors to meld beautifully.
Enjoy your deliciously layered Oreo Icebox Cake!
How to Serve Oreo Icebox Cake
Oreo Icebox Cake is a delightful dessert that can be served in various ways to enhance its flavor and presentation. Here are some creative serving suggestions that will impress your guests and elevate your dessert experience.
Individual Servings
- Use small dessert cups or glasses for individual portions. Layer the cake with extra whipped cream and cookie crumbs for an elegant touch.
Fresh Berries
- Top each slice with fresh berries like strawberries or raspberries. The tartness of the fruit balances the sweetness of the cake, making it even more enjoyable.
Chocolate Drizzle
- Drizzle melted chocolate over the top of the cake before serving. This adds an extra layer of richness and visual appeal.
Ice Cream
- Serve alongside a scoop of vanilla or chocolate ice cream. The cold, creamy texture pairs perfectly with the rich flavors of the Oreo Icebox Cake.
Mint Leaves
- Garnish each serving with fresh mint leaves. This adds a pop of color and a refreshing taste that complements the chocolate.
Extra Oreos
- Crush additional Oreos and sprinkle them on top before serving. This gives a satisfying crunch and enhances the Oreo flavor.
How to Perfect Oreo Icebox Cake
Creating the perfect Oreo Icebox Cake requires attention to detail and some helpful tips. Follow these guidelines for an irresistible dessert.
-
Use full-fat cream cheese: This ensures a rich and creamy texture in your filling, making it more indulgent.
-
Whip cream properly: Make sure to beat the heavy cream until stiff peaks form. This step is crucial for achieving a light and airy filling.
-
Let it chill: Allowing the cake to set in the fridge for at least 6 hours helps flavors meld together beautifully, enhancing taste.
-
Choose fresh ingredients: Always use fresh Oreos and quality chocolate for the best results. Fresh ingredients lead to better flavor and texture.
-
Layer evenly: Spread your layers evenly to ensure each slice has the same delicious balance of cookies and filling.
-
Experiment with toppings: Don’t hesitate to try different toppings like caramel sauce or nuts for added flavor and texture variations.
Best Side Dishes for Oreo Icebox Cake
When serving Oreo Icebox Cake, pairing it with complementary side dishes can create a well-rounded dessert experience. Here are some excellent side options to consider:
-
Fruit Salad
A refreshing mix of seasonal fruits provides a light contrast to the rich cake, balancing out its heaviness. -
Chocolate Chip Cookies
Offering classic cookies alongside enhances the chocolate theme while providing a chewy texture contrast. -
Pecan Pie Bars
These sweet bars add a nutty crunch that pairs wonderfully with the smoothness of the icebox cake. -
Vanilla Pudding
Creamy vanilla pudding serves as an excellent base or accompaniment, adding another layer of sweetness without overpowering flavors. -
Lemon Sorbet
The citrusy brightness of lemon sorbet cuts through the richness, offering a refreshing palate cleanser between bites. -
Coffee or Espresso
A warm cup of coffee or espresso balances out dessert sweetness while enhancing chocolate flavors in your icebox cake. -
Cheesecake Bites
Bite-sized cheesecake treats provide another level of indulgence without being too heavy after enjoying icebox cake. -
Caramel Flan
Creamy flan with caramel sauce introduces different textures while harmonizing well with sweet desserts like Oreo Icebox Cake.
Common Mistakes to Avoid
Making an Oreo Icebox Cake can be simple, but there are common pitfalls to watch for.
-
Using warm chocolate: Always ensure your chocolate is completely melted and cool before mixing it with cream cheese. Warm chocolate can lead to a lumpy filling.
-
Overmixing the whipped cream: When folding whipped cream into the chocolate mixture, do it gently. Overmixing can deflate the whipped cream, resulting in a less airy cake.
-
Skipping the chilling time: Allowing the cake to set in the fridge for at least 6 hours is crucial. Skipping this step can result in a mushy texture instead of firm layers.
-
Not using full-fat ingredients: For the best flavor and texture, use full-fat cream cheese and heavy cream. Low-fat alternatives may yield a watery or bland filling.
-
Improper cookie soaking: Dunking Oreos too long in milk can make them soggy. A quick dip is all you need to keep them sturdy while still softening them for layering.
Storage & Reheating Instructions
Refrigerator Storage
- Store any leftovers in an airtight container.
- It will last up to 3 days in the refrigerator without losing flavor or texture.
Freezing Oreo Icebox Cake
- Wrap individual slices in plastic wrap before placing them in a freezer-safe container.
- The cake can be frozen for up to 2 months; just be sure to label it with the date!
Reheating Oreo Icebox Cake
-
Oven: Preheat to 350°F (175°C) and warm for about 10 minutes. This method is not usually necessary but works if you want it slightly softened.
-
Microwave: Use short bursts of 10-15 seconds on low power, checking frequently. Be careful not to melt it too much.
-
Stovetop: Place a slice in a pan over low heat for a few minutes, covering it with a lid to retain moisture.
Frequently Asked Questions
Can I make Oreo Icebox Cake ahead of time?
Yes, you can prepare this cake a day or two in advance. Just ensure it is properly stored in the fridge.
What variations can I try with Oreo Icebox Cake?
You can customize your cake by adding layers of fruit, like strawberries or bananas, or by using different flavored cookies such as peanut butter Oreos.
How long does Oreo Icebox Cake last in the fridge?
Oreo Icebox Cake will stay fresh for about 3 days when stored properly in an airtight container.
Can I use gluten-free Oreos for this recipe?
Absolutely! Gluten-free Oreos work perfectly for making an Oreo Icebox Cake suitable for those with gluten sensitivities.
Is there a way to make this dessert healthier?
You can try using Greek yogurt instead of some of the cream cheese and reduce sugar by substituting part with a sugar alternative.
Final Thoughts
Oreo Icebox Cake is not only delicious but also incredibly versatile. With its creamy layers and rich flavors, it’s perfect for summer gatherings or any special occasion. Feel free to customize it with different toppings or mix-ins! Give this easy recipe a try, and indulge your loved ones with this delightful treat!
Oreo Icebox Cake
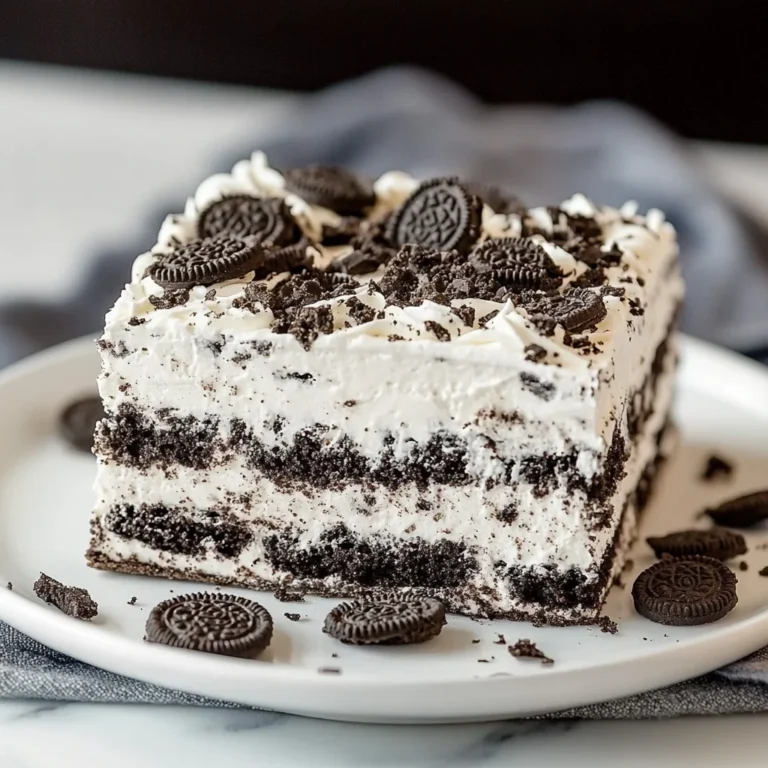
Oreo Icebox Cake is the ultimate no-bake dessert that perfectly blends creamy and crunchy textures, making it an irresistible treat for any occasion. This delightful cake layers rich chocolate filling with crunchy Oreo cookies, creating a luscious dessert that’s perfect for summer parties, family gatherings, or simply satisfying your sweet tooth. With effortless preparation and minimal cooking required, this cake allows you to create a stunning centerpiece without heating up the kitchen. Just layer, chill, and serve! Everyone at the table will be amazed by its decadent flavors and appealing presentation.
- Total Time: 0 hours
- Yield: 12 servings 1x
Ingredients
- 32 Oreo Cookies
- 4 oz semi-sweet chocolate (chopped)
- 8 oz cream cheese (full-fat, brick style)
- 1 cup heavy cream
- 1/2 cup powdered sugar
- 1/2 cup milk (for dipping cookies)
- Topping: 3/4 cup heavy cream, 2 tablespoons powdered sugar, and additional chopped Oreos
Instructions
- Melt chopped chocolate in a heatproof bowl using a microwave.
- Whip heavy cream until stiff peaks form; beat cream cheese with melted chocolate and powdered sugar.
- Fold whipped cream into the chocolate mixture until smooth.
- Layer dipped Oreos in an 8×8 inch pan, followed by chocolate filling; repeat until all ingredients are used.
- Chill for at least 6 hours before serving; top with whipped cream and crushed Oreos.
- Prep Time: 30 minutes
- Cook Time: N/A
- Category: Dessert
- Method: No-Bake
- Cuisine: American
Nutrition
- Serving Size: 1 slice (approximately 90g)
- Calories: 310
- Sugar: 25g
- Sodium: 210mg
- Fat: 20g
- Saturated Fat: 10g
- Unsaturated Fat: 9g
- Trans Fat: 0g
- Carbohydrates: 28g
- Fiber: 1g
- Protein: 4g
- Cholesterol: 35mg