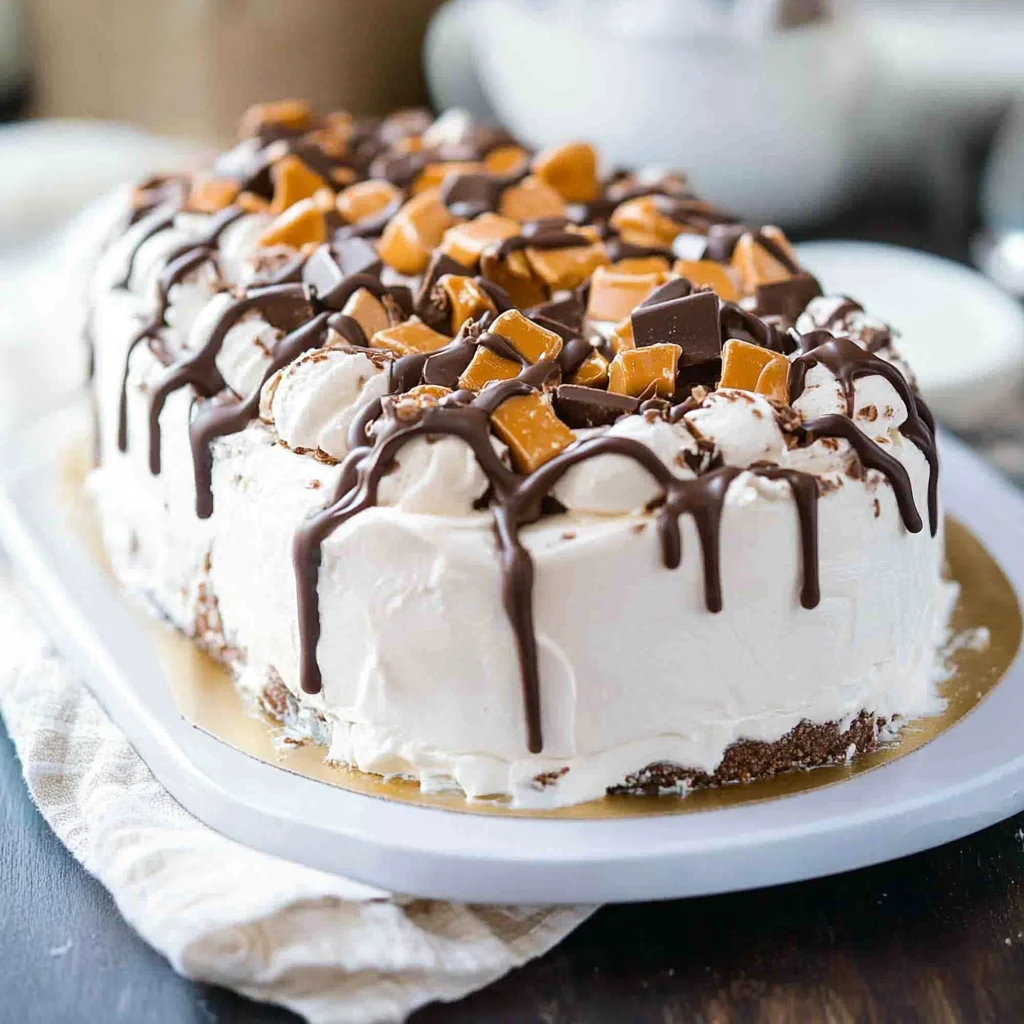
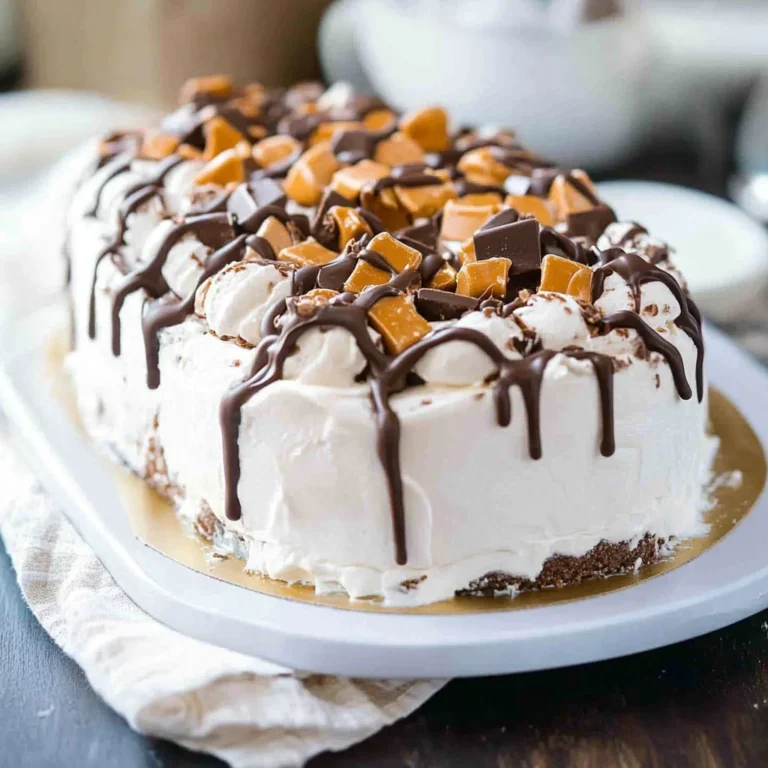
Chocolate and peanut butter lovers, rejoice! Reese’s Ice Cream Cake is the perfect dessert for any occasion, from birthday parties to family gatherings. This delightful treat combines layers of creamy vanilla ice cream sandwiches, rich melted peanut butter, and everyone’s favorite Reese’s peanut butter cups. Whether you’re celebrating a special event or just want to indulge on a warm day, this cake offers a deliciously cool experience that everyone will adore.
Why You’ll Love This Recipe
- Easy to Make: With minimal ingredients and straightforward steps, this cake can be whipped up in no time.
- Delicious Flavor Combination: The rich flavors of chocolate and peanut butter create a decadent dessert that satisfies cravings.
- Perfect for Any Occasion: Whether it’s a birthday party or a summer barbecue, this ice cream cake is sure to impress guests.
- Customizable Layers: Feel free to add your favorite candies or sauces to make it uniquely yours!
- No Baking Required: Just assemble the layers and let it freeze—no oven needed!
Tools and Preparation
Before diving into making your Reese’s Ice Cream Cake, gather the necessary tools. Having the right equipment makes the process smoother and more enjoyable.
Essential Tools and Equipment
- Serving platter
- Mixing bowl
- Whisk or spoon
- Freezer-safe dish
Importance of Each Tool
- Serving platter: A sturdy base for layering your cake, ensuring stability during assembly.
- Mixing bowl: Perfect for combining sauces or melted ingredients without making a mess.
- Whisk or spoon: Essential for drizzling sauces evenly over the ice cream sandwiches.
- Freezer-safe dish: Keeps your cake secure while it freezes, preventing any spills.
Ingredients
Chocolate and peanut butter come together in this simple, crowd-pleasing ice cream cake!
For the Base
- 18 vanilla ice cream sandwiches
For the Filling
- 1 cup peanut butter, melted
- 1 9.5 oz package Reese’s peanut butter cups (12 total)
For Toppings
- 6 tablespoons caramel sauce
- 6 tablespoons hot fudge sauce
- 2 8 oz containers whipped topping
How to Make Reese’s Ice Cream Cake
Step 1: Arrange the First Layer
Start by laying out six vanilla ice cream sandwiches on your serving platter. Drizzle half of the melted peanut butter over them. Then, add two tablespoons of caramel sauce and hot fudge sauce. To finish this layer, sprinkle a third of the chopped Reese’s cups on top.
Step 2: Add More Layers
Next, place another six ice cream sandwiches over the first layer. Repeat by drizzling the remaining melted peanut butter on top. Again, add two tablespoons of each sauce followed by another third of the chopped candies.
Step 3: Top It Off
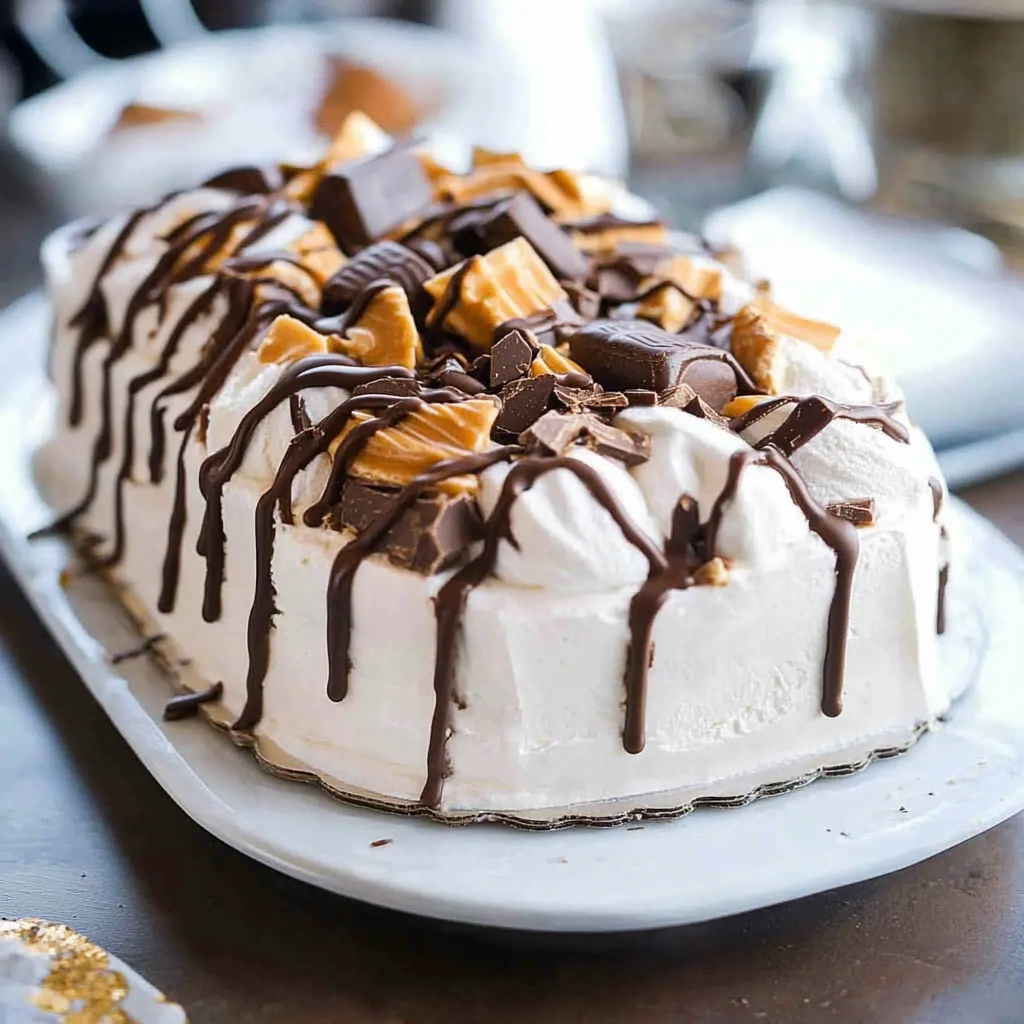
Finish with a final layer of ice cream sandwiches. Surround the entire cake with whipped topping for an extra creamy touch.
Step 4: Final Drizzle and Garnish
Drizzle any remaining caramel and hot fudge sauces over the top of your cake. Add the rest of the chopped Reese’s cups as a delicious garnish.
Step 5: Freeze Before Serving
Allow your masterpiece to set in the freezer for at least 30 minutes but ideally up to 4 hours before serving. This ensures that every slice holds its shape when cut!
How to Serve Reese’s Ice Cream Cake
Serving Reese’s Ice Cream Cake is all about presentation and enhancing the delicious peanut butter and chocolate flavors. Here are some fun serving suggestions that will impress your guests.
Individual Servings
- Serve slices in dessert bowls for a neat presentation. This makes it easy for guests to enjoy without messing up the layers.
Toppings Bar
- Create a toppings bar with extra Reese’s peanut butter cups, crushed cookies, and sprinkles. Guests can customize their slices, making it a fun experience.
Pair with Fresh Fruit
- Accompany the cake with fresh strawberries or bananas. The fruity freshness balances the richness of the ice cream cake.
Coffee or Milk Pairing
- Serve slices alongside a warm cup of coffee or cold milk. The beverages complement the flavors of chocolate and peanut butter perfectly.
Garnish with Whipped Cream
- Add a dollop of whipped cream on top for an extra creamy touch. It enhances both the look and taste of your dessert.
How to Perfect Reese’s Ice Cream Cake
To ensure your Reese’s Ice Cream Cake turns out perfectly every time, follow these helpful tips.
- Use quality ingredients: Choose premium ice cream sandwiches and fresh peanut butter for the best flavor.
- Layer carefully: Make sure each layer is even to create a beautiful presentation when sliced.
- Freeze thoroughly: Allow enough time for freezing; this helps the cake set properly before serving.
- Chill serving plates: Serving on chilled plates keeps the ice cream firmer longer while being enjoyed.
- Customize flavors: Feel free to mix in different candies or sauces according to your taste preferences.
Best Side Dishes for Reese’s Ice Cream Cake
When serving your delicious Reese’s Ice Cream Cake, consider pairing it with these delightful side dishes that complement its flavors well.
- Chocolate Chip Cookies: Classic cookies add a crunchy texture that pairs well with creamy ice cream.
- Fruit Salad: A medley of seasonal fruits provides a refreshing contrast to the rich dessert.
- Brownies: Fudgy brownies enhance the chocolate experience, making everything more indulgent.
- Pecan Pie: The nutty flavor of pecan pie complements peanut butter nicely, creating a delicious duo.
- Ice Cream Sundaes: Offer mini sundaes made with vanilla ice cream and various toppings for variety.
- Milkshakes: Chocolate or peanut butter milkshakes serve as a creamy complement to the cake’s flavors.
Common Mistakes to Avoid
Making Reese’s Ice Cream Cake can be simple, but there are a few common pitfalls to watch out for.
- Skipping the freezer time: Failing to allow the cake to freeze adequately can result in a messy serving. Ensure you freeze the cake for at least 30 minutes up to 4 hours for optimal texture.
- Overcrowding with toppings: Adding too many toppings at once can make the cake difficult to cut. Stick to the recommended amounts of sauces and candies for best results.
- Using soft ice cream sandwiches: If your ice cream sandwiches are too soft, they won’t hold their shape. Opt for firmer ice cream sandwiches for a sturdier cake.
- Not measuring ingredients properly: Improper measurements can disrupt the balance of flavors. Always measure your peanut butter, sauces, and whipped topping accurately.
- Neglecting presentation: A beautiful presentation enhances enjoyment. Take time to drizzle sauces artistically and arrange toppings neatly.
Refrigerator Storage
- Store in an airtight container.
- Keep in the refrigerator for up to 3 days.
Freezing Reese’s Ice Cream Cake
- Wrap tightly in plastic wrap or foil.
- Freeze for up to 2 months for best quality.
Reheating Reese’s Ice Cream Cake
- Oven: Not recommended; this cake is best served cold.
- Microwave: Heat individual slices briefly (10-15 seconds) on low power if needed.
- Stovetop: Not applicable; this cake should not be reheated on a stovetop.
Frequently Asked Questions
Can I customize my Reese’s Ice Cream Cake?
Yes! Feel free to add different types of candy or use various flavored ice cream sandwiches for a unique twist.
How many servings does this cake yield?
This recipe yields approximately 12 servings, perfect for gatherings or family events.
Can I make this dessert ahead of time?
Absolutely! Prepare the cake a day in advance and store it in the freezer until you’re ready to serve.
What should I do if I don’t have whipped topping?
You can substitute with homemade whipped cream or even softened cream cheese mixed with sugar as an alternative.
Final Thoughts
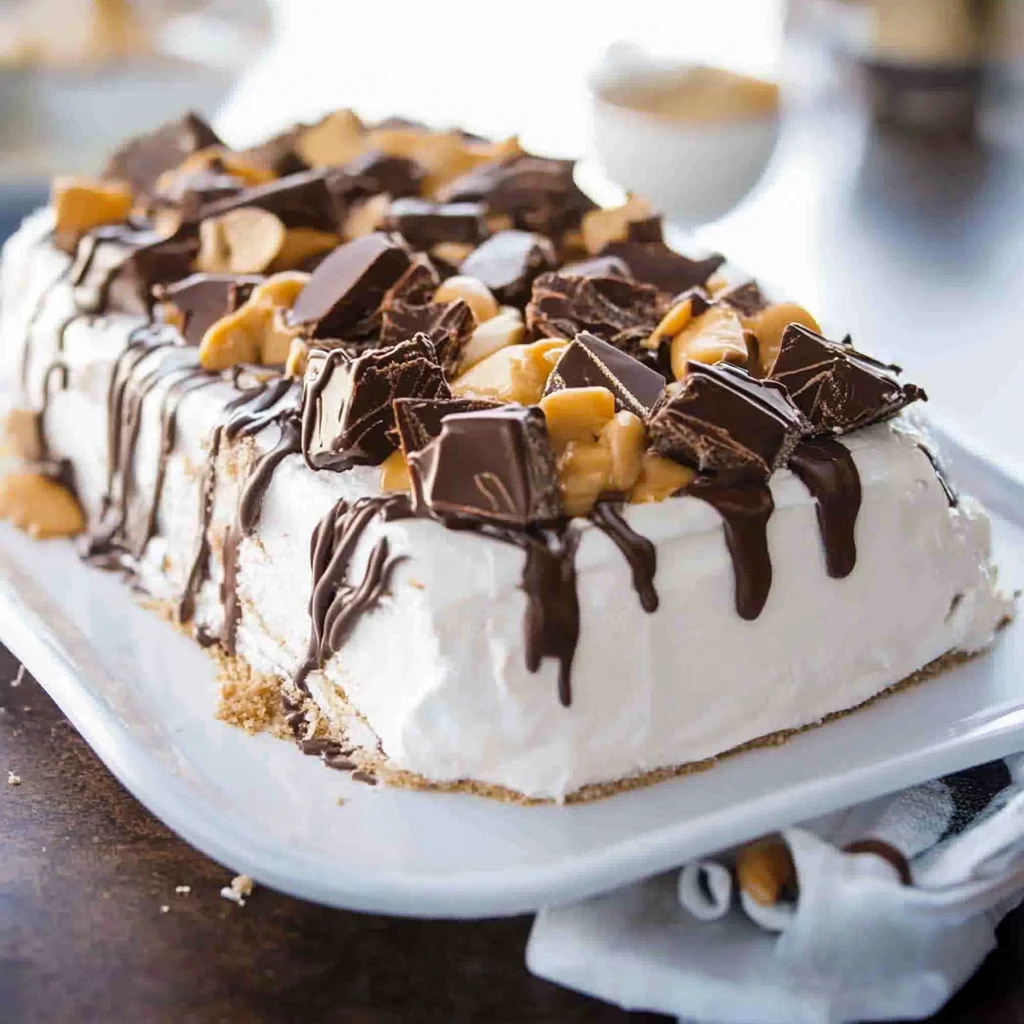
Reese’s Ice Cream Cake is a delightful treat that combines rich chocolate and creamy peanut butter flavors. Its versatility allows you to customize it with your favorite candies or ice cream flavors. This no-bake dessert is perfect for parties, celebrations, or just a sweet indulgence at home. Give it a try and enjoy making it your own!
Reese’s Ice Cream Cake
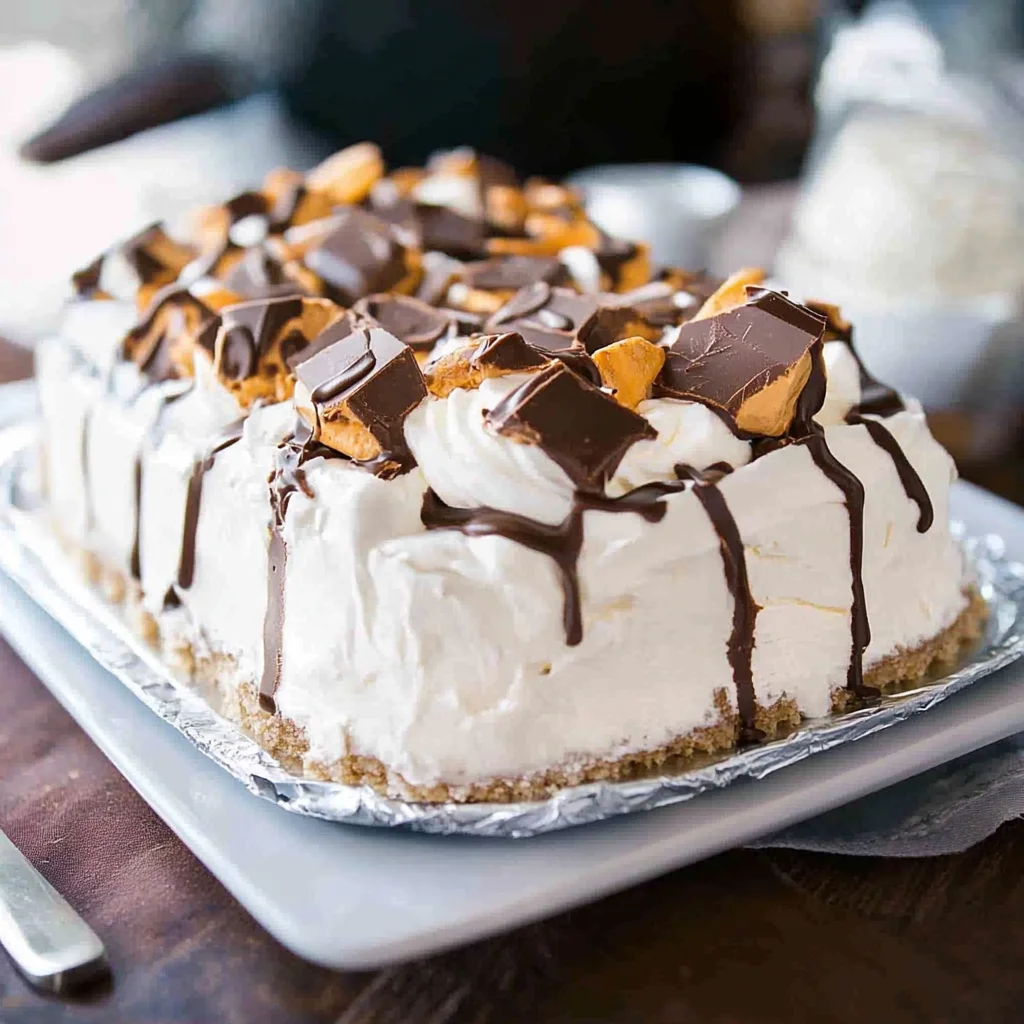
Indulge your taste buds with the irresistible Reese’s Ice Cream Cake, an easy-to-make dessert that perfectly melds rich chocolate and creamy peanut butter flavors. Ideal for any occasion—from birthday celebrations to summer barbecues—this no-bake delight features layers of vanilla ice cream sandwiches, melted peanut butter, and crunchy Reese’s peanut butter cups. With minimal ingredients and no baking required, you can whip up this crowd-pleaser in no time. Customize it by adding your favorite candies or sauces for a personal touch. Freeze it to achieve the perfect texture, and serve it with fun toppings for an unforgettable treat that everyone will love.
- Total Time: 0 hours
- Yield: Approximately 12 servings 1x
Ingredients
- 18 vanilla ice cream sandwiches
- 1 cup melted peanut butter
- 1 package (9.5 oz) Reese's peanut butter cups (12 total)
- 6 tablespoons caramel sauce
- 6 tablespoons hot fudge sauce
- 2 containers (8 oz each) whipped topping
Instructions
- On a serving platter, arrange six ice cream sandwiches. Drizzle half of the melted peanut butter over them, then add two tablespoons each of caramel and hot fudge sauce. Top with a third of the chopped Reese's cups.
- Layer on another six ice cream sandwiches and repeat the process with the remaining peanut butter, sauces, and another third of the Reese's cups.
- Finish with a last layer of ice cream sandwiches, covering the entire cake with whipped topping.
- Drizzle any leftover sauces on top and garnish with remaining chopped Reese's cups.
- Freeze for at least 30 minutes or up to 4 hours before serving.
- Prep Time: 20 minutes
- Cook Time: None
- Category: Dessert
- Method: No-bake
- Cuisine: American
Nutrition
- Serving Size: 1 serving
- Calories: 320
- Sugar: 21g
- Sodium: 170mg
- Fat: 15g
- Saturated Fat: 6g
- Unsaturated Fat: 7g
- Trans Fat: 0g
- Carbohydrates: 42g
- Fiber: 2g
- Protein: 5g
- Cholesterol: 15mg