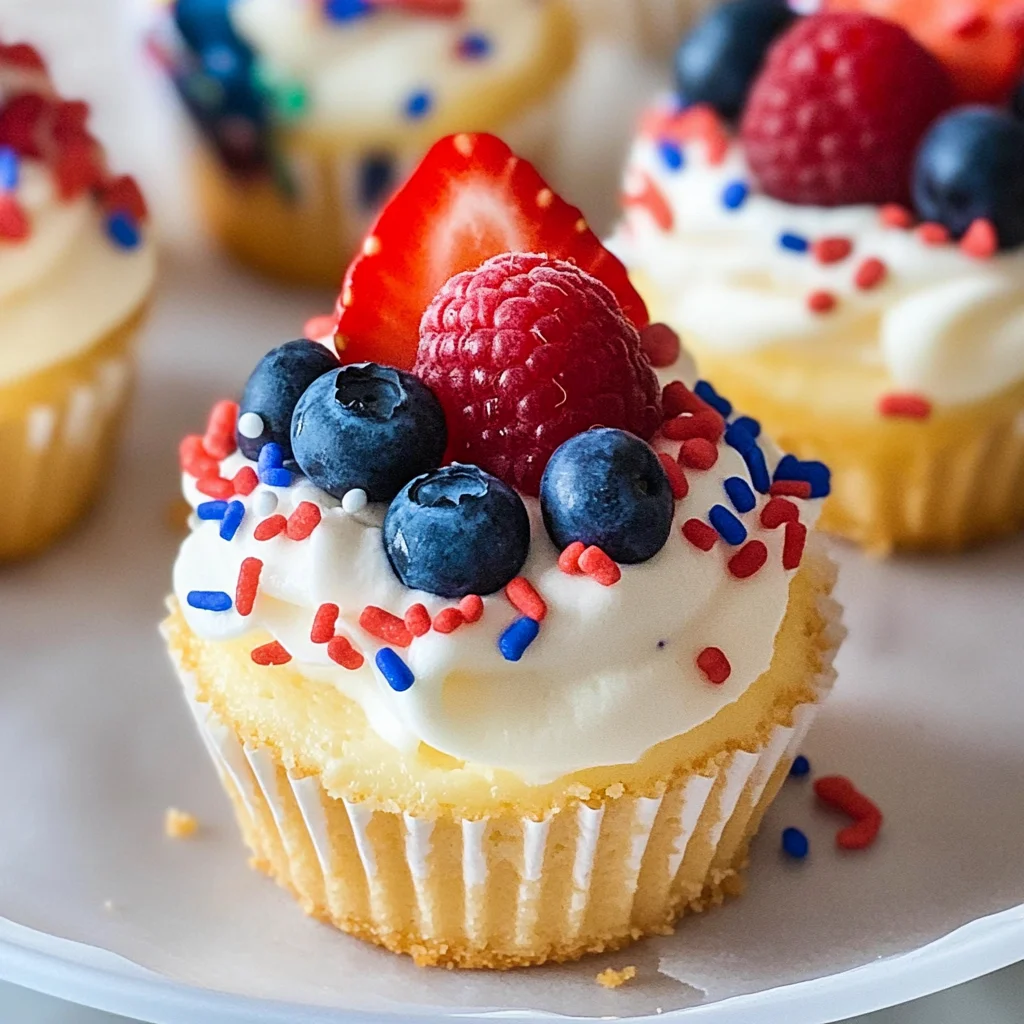
These delightful Mini Cheesecakes with Vanilla Wafers are an ideal treat for any celebration, from birthdays to summer barbecues. Their light and fluffy texture combined with the sweetness of vanilla waivers makes them a favorite among dessert lovers. You can easily customize these mini cheesecakes for various occasions by switching up the toppings or colors. With simple ingredients and a mini cupcake pan, you can whip up a batch that will impress everyone at your gathering!
Why You’ll Love This Recipe
- Easy to Make: The recipe involves straightforward steps, making it perfect for bakers of all skill levels.
- Customizable Toppings: Switch up the fruit or sprinkles to suit any occasion, allowing creativity in presentation.
- Perfect Serving Size: These individual portions are great for parties, making them easy to serve and enjoy.
- Make Ahead: Prepare in advance and refrigerate, so you can focus on enjoying your event.
Tools and Preparation
Before diving into this recipe, gather your tools and ensure you’re set up for success in the kitchen.
Essential Tools and Equipment
- Mini cupcake pan
- Mixing bowls
- Electric mixer
- Measuring cups and spoons
- Spatula
Importance of Each Tool
- Mini cupcake pan: This tool is essential for shaping your cheesecakes into perfect bite-sized portions.
- Electric mixer: Using an electric mixer ensures your cream cheese blends smoothly, resulting in a creamy texture.
- Measuring cups and spoons: Accurate measurements are key in baking; these tools help achieve the right flavor balance.
Ingredients
To make these delightful Mini Cheesecakes with Vanilla Wafers, gather the following ingredients:
For the Cheesecake Filling
- 2 8 oz Cream Cheese (softened)
- 3/4 cup Sugar
- 3 Eggs
- 1 tsp Lemon Juice
- 1 tsp Vanilla Extract
For the Crust
- 48 Mini Nilla Wafers
For the Topping
- 1 8 oz Cream Cheese (softened)
- 2 cups Powdered Sugar
- 1 tsp Lemon Juice
- 1 tsp Vanilla Extract
- 1/2 cup Strawberries (diced)
- 1/2 cup Blueberries
- 1/2 cup Raspberries
- Red, White and Blue Sprinkles
How to Make Mini Cheesecakes with Vanilla Wafers
Step 1: Preheat the Oven
Preheat your oven to 325°F (160°C). This temperature is perfect for baking mini cheesecakes without burning them.
Step 2: Prepare Your Pan
Place the Mini Nilla Wafers at the bottom of each section in the mini cupcake pan.
Step 3: Mix Cheesecake Filling
In a mixing bowl, combine softened cream cheese, sugar, eggs, lemon juice, and vanilla extract. Use an electric mixer to blend until smooth. Ensure no lumps remain for a creamy cheesecake filling.
Step 4: Fill Cupcakes
Spoon the cheesecake mixture over each cookie base in your mini cupcake pan. Fill each section about three-quarters full to allow room for rising.
Step 5: Bake
Bake in your preheated oven for about 20 minutes or until set. The centers should still have a slight jiggle but not be overly wet.
Step 6: Cool Down
Remove from the oven and let cool at room temperature. Once cooled, transfer them to the refrigerator for at least an hour before serving.
Step 7: Prepare Topping
In another bowl, beat softened cream cheese with powdered sugar, lemon juice, and vanilla extract until fluffy.
Step 8: Decorate
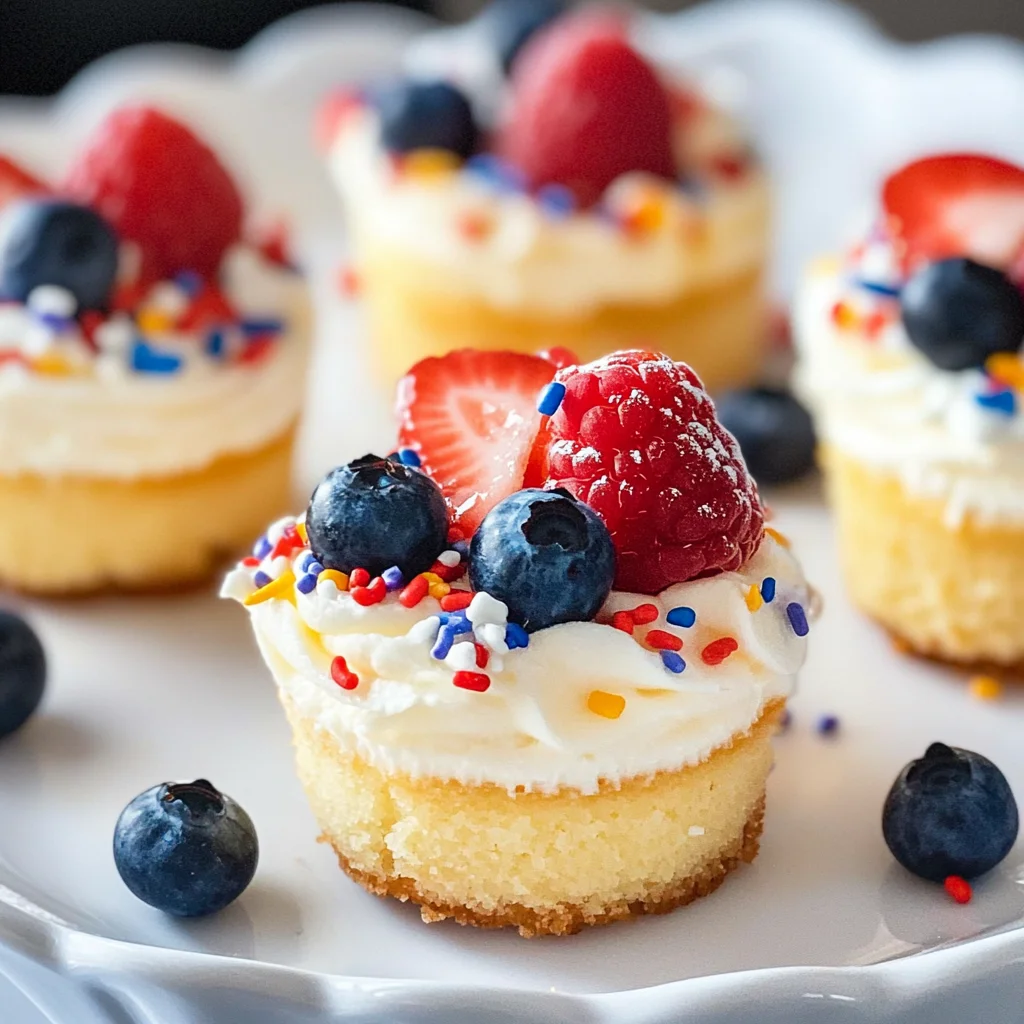
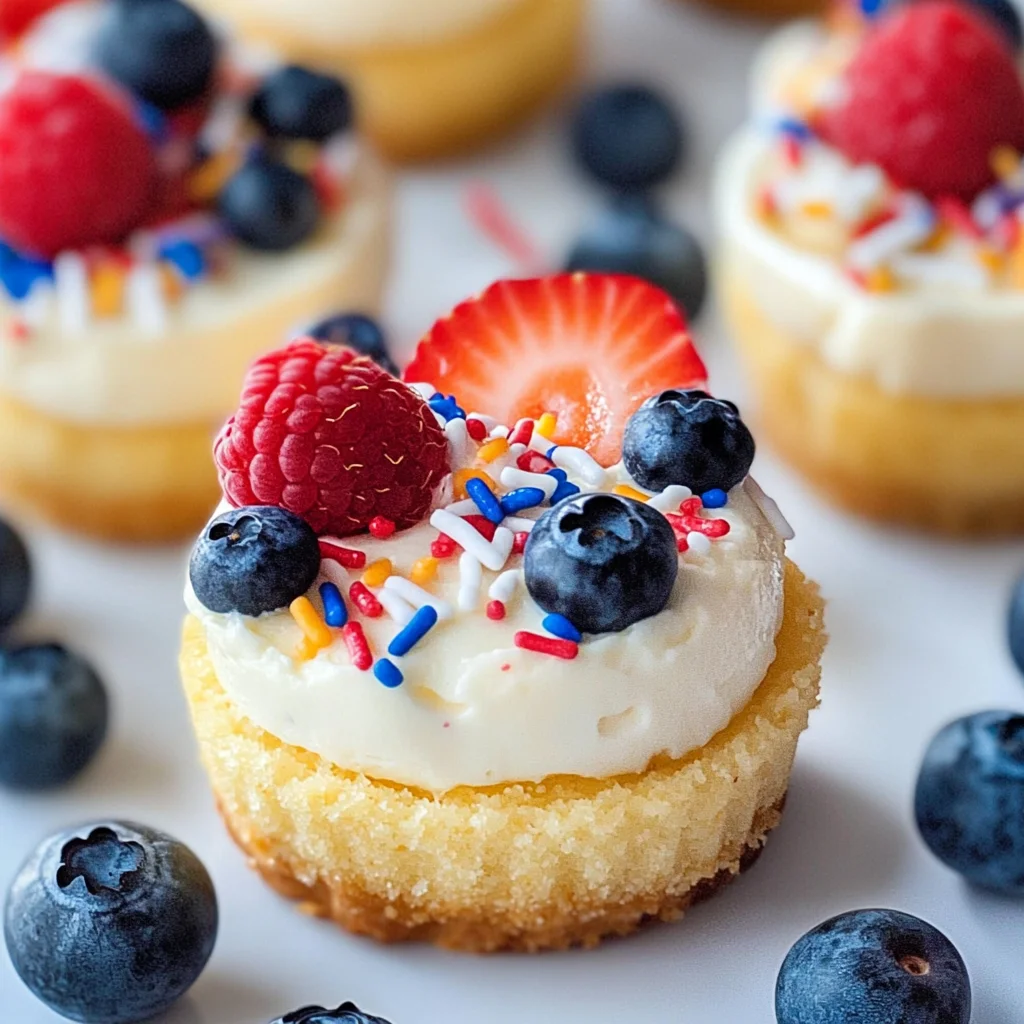
Top each mini cheesecake with a dollop of cream cheese frosting followed by diced strawberries, blueberries, raspberries, and sprinkle with red, white, and blue sprinkles.
Enjoy these festive treats that celebrate flavor as much as they do appearance! Perfectly suited for gatherings or as a delightful snack at home.
How to Serve Mini Cheesecakes with Vanilla Wafers
Mini cheesecakes with vanilla wafers are a delightful treat perfect for any celebration. These bite-sized desserts can be served in various ways to impress your guests and elevate your dessert table.
Individual Dessert Cups
- Serve each mini cheesecake in a clear cup for an elegant look. This allows guests to see the layers and toppings.
Topped with Fresh Berries
- Garnish with assorted fresh berries like strawberries, blueberries, and raspberries. This adds a burst of color and flavor.
Drizzled with Fruit Sauce
- Add a drizzle of homemade berry sauce or fruit puree on top for an extra touch of sweetness.
Sprinkled with Decorative Toppings
- Use red, white, and blue sprinkles for festive occasions, especially during holidays like the 4th of July.
Paired with Whipped Cream
- Serve alongside a dollop of whipped cream for added creaminess and richness.
On a Dessert Platter
- Arrange mini cheesecakes on a decorative platter with other desserts to create an appealing dessert spread.
How to Perfect Mini Cheesecakes with Vanilla Wafers
Creating the perfect mini cheesecakes involves attention to detail. These tips will help ensure your cheesecakes turn out delicious every time.
-
Use room temperature ingredients: Make sure your cream cheese and eggs are at room temperature for smoother mixing and creamier texture.
-
Don’t overmix: Mix until just combined to avoid incorporating too much air, which can lead to cracks in the cheesecakes.
-
Pre-bake the crusts: Lightly bake the vanilla wafer crusts before adding the filling to enhance their flavor and texture.
-
Cool gradually: Allow the cheesecakes to cool in the oven after baking. This helps prevent cracking caused by sudden temperature changes.
-
Chill thoroughly: Refrigerate the mini cheesecakes for at least four hours before serving. This enhances their flavor and allows them to set properly.
-
Experiment with flavors: Feel free to add different extracts or citrus zests to customize your cheesecake flavors beyond vanilla.
Best Side Dishes for Mini Cheesecakes with Vanilla Wafers
Mini cheesecakes pair wonderfully with various side dishes that complement their sweet flavors. Here are some great options:
-
Fruit Salad: A refreshing mix of seasonal fruits adds brightness and balances the richness of the cheesecake.
-
Chocolate Dipped Strawberries: These indulgent treats bring together chocolate’s richness with fruity freshness that pairs well with cheesecake.
-
Pineapple Salsa: A tropical twist that combines pineapple, lime, and cilantro for a zesty contrast against creamy cheesecake.
-
Homemade Granola: Crunchy granola can provide texture when sprinkled on top or served alongside mini cheesecakes.
-
Lemon Sorbet: This light and tangy dessert cleanses the palate between bites of rich cheesecake.
-
Coconut Macaroons: Chewy coconut macaroons complement the creamy texture of mini cheesecakes while adding another layer of flavor.
-
Mini Fruit Tarts: These offer a similar flavor profile but provide variation in presentation and texture.
-
Berry Compote: A warm berry compote drizzled over mini cheesecakes enhances both taste and visual appeal.
Common Mistakes to Avoid
To ensure your Mini Cheesecakes with Vanilla Wafers turn out perfectly, avoid these common mistakes.
- Skipping the Softening Step: Failing to soften cream cheese can lead to lumps in your batter. Always allow it to sit at room temperature for at least 30 minutes before mixing.
- Overmixing the Batter: Overmixing can incorporate too much air, causing cracks during baking. Mix just until ingredients are combined for a smooth texture.
- Not Preheating the Oven: Baking in an unheated oven can result in uneven cooking. Preheat your oven thoroughly before placing your mini cheesecakes inside.
- Ignoring Baking Time: Each oven is different, and baking times may vary. Start checking for doneness a few minutes before the recommended time to prevent overbaking.
- Neglecting Cooling Time: Removing cheesecakes from the oven too soon can lead to collapse. Allow them to cool gradually at room temperature before refrigerating.
Storage & Reheating Instructions
Refrigerator Storage
- Store mini cheesecakes in an airtight container.
- They will last up to 5 days in the refrigerator.
Freezing Mini Cheesecakes with Vanilla Wafers
- Wrap each cheesecake individually in plastic wrap.
- Place them in a freezer-safe container or bag. They can be frozen for up to 3 months.
Reheating Mini Cheesecakes with Vanilla Wafers
- Oven: Preheat to 350°F (175°C) and heat for about 10-15 minutes until warmed through.
- Microwave: Heat on low power for 10-15 seconds, checking frequently to avoid overheating.
- Stovetop: Use a double boiler method, warming gently until the desired temperature is reached.
Frequently Asked Questions
Here are some commonly asked questions about making Mini Cheesecakes with Vanilla Wafers.
How do I customize my Mini Cheesecakes with Vanilla Wafers?
You can customize your cheesecakes by changing toppings or mix-ins. Try using different fruits or flavored extracts based on your preference.
Can I use other types of cookies instead of vanilla wafers?
Yes! Feel free to experiment with other cookie bases like chocolate wafers or graham crackers for a different flavor profile.
What’s the best way to serve Mini Cheesecakes with Vanilla Wafers?
Serve them chilled, topped with fresh fruit or whipped cream for an extra special touch.
Can I make these mini cheesecakes ahead of time?
Absolutely! These mini cheesecakes store well and can be made a day or two in advance for gatherings or parties.
Final Thoughts
These Mini Cheesecakes with Vanilla Wafers are not only delicious but also versatile. You can easily customize them for any occasion using different toppings and flavors. Give this recipe a try and impress your friends and family with these delightful treats!
Mini Cheesecakes with Vanilla Wafers
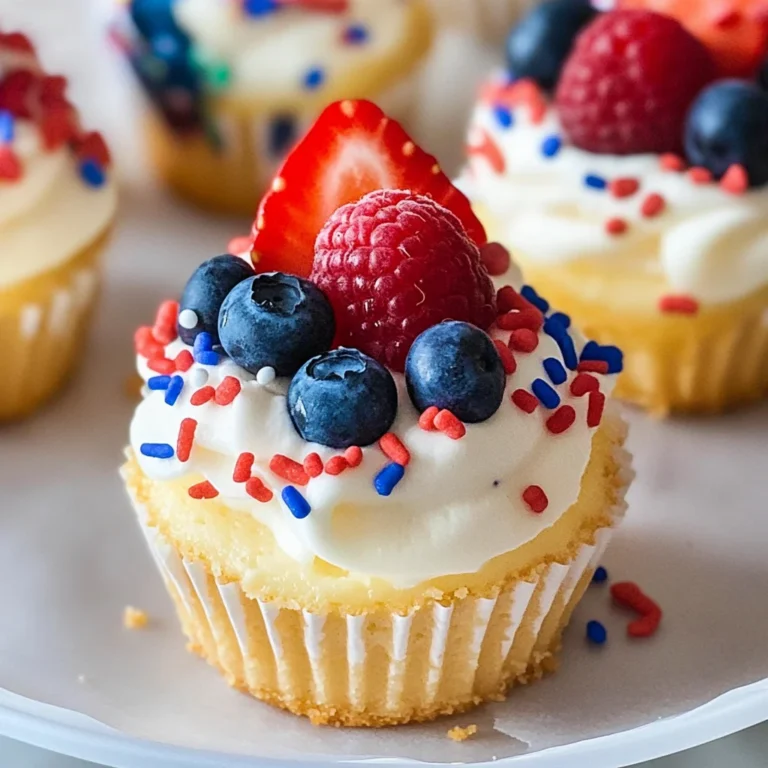
Indulge in the delightful world of Mini Cheesecakes with Vanilla Wafers, a perfect treat for any occasion—be it birthdays, summer barbecues, or festive gatherings. These charming dessert bites boast a light and creamy texture that pairs beautifully with the sweet crunch of vanilla wafers. Each mini cheesecake can be easily customized with seasonal fruits or themed toppings, allowing you to showcase your creativity while impressing friends and family. With just a few simple ingredients and clear steps, these bite-sized desserts are not only easy to make but also a delightful addition to your dessert table. Treat yourself to these festive mini cheesecakes and elevate your celebrations with deliciousness!
- Total Time: 40 minutes
- Yield: Approximately 16 servings 1x
Ingredients
- 2 8 oz Cream Cheese (softened)
- 3/4 cup Sugar
- 3 Eggs
- 1 tsp Lemon Juice
- 1 tsp Vanilla Extract
- 48 Mini Nilla Wafers
- 1 8 oz Cream Cheese (for topping)
- 2 cups Powdered Sugar
- 1/2 cup Strawberries (diced)
- 1/2 cup Blueberries
- 1/2 cup Raspberries
- Red, White and Blue Sprinkles
Instructions
- Preheat oven to 325°F (160°C).
- Place Mini Nilla Wafers at the bottom of each section in the mini cupcake pan.
- In a mixing bowl, beat together softened cream cheese, sugar, eggs, lemon juice, and vanilla until smooth.
- Spoon filling over the cookie base in the mini cupcake pan until three-quarters full.
- Bake for about 20 minutes until set; centers should have a slight jiggle.
- Cool at room temperature then refrigerate for at least an hour.
- For topping: Beat together softened cream cheese, powdered sugar, lemon juice, and vanilla until fluffy.
- Decorate mini cheesecakes with the cream cheese frosting and fresh berries.
- Prep Time: 20 minutes
- Cook Time: 20 minutes
- Category: Dessert
- Method: Baking
- Cuisine: American
Nutrition
- Serving Size: 1 cheesecake (40g)
- Calories: 150
- Sugar: 12g
- Sodium: 90mg
- Fat: 9g
- Saturated Fat: 5g
- Unsaturated Fat: 4g
- Trans Fat: 0g
- Carbohydrates: 15g
- Fiber: <1g
- Protein: 2g
- Cholesterol: 30mg